Assembly
Quick Nav
Deutsche Version: Das card10 zusammenbauen
Your card10 comes in a bag with all its components and a flyer/booklet/manual.
Assembly video
This short video shows how to assemble your card10.
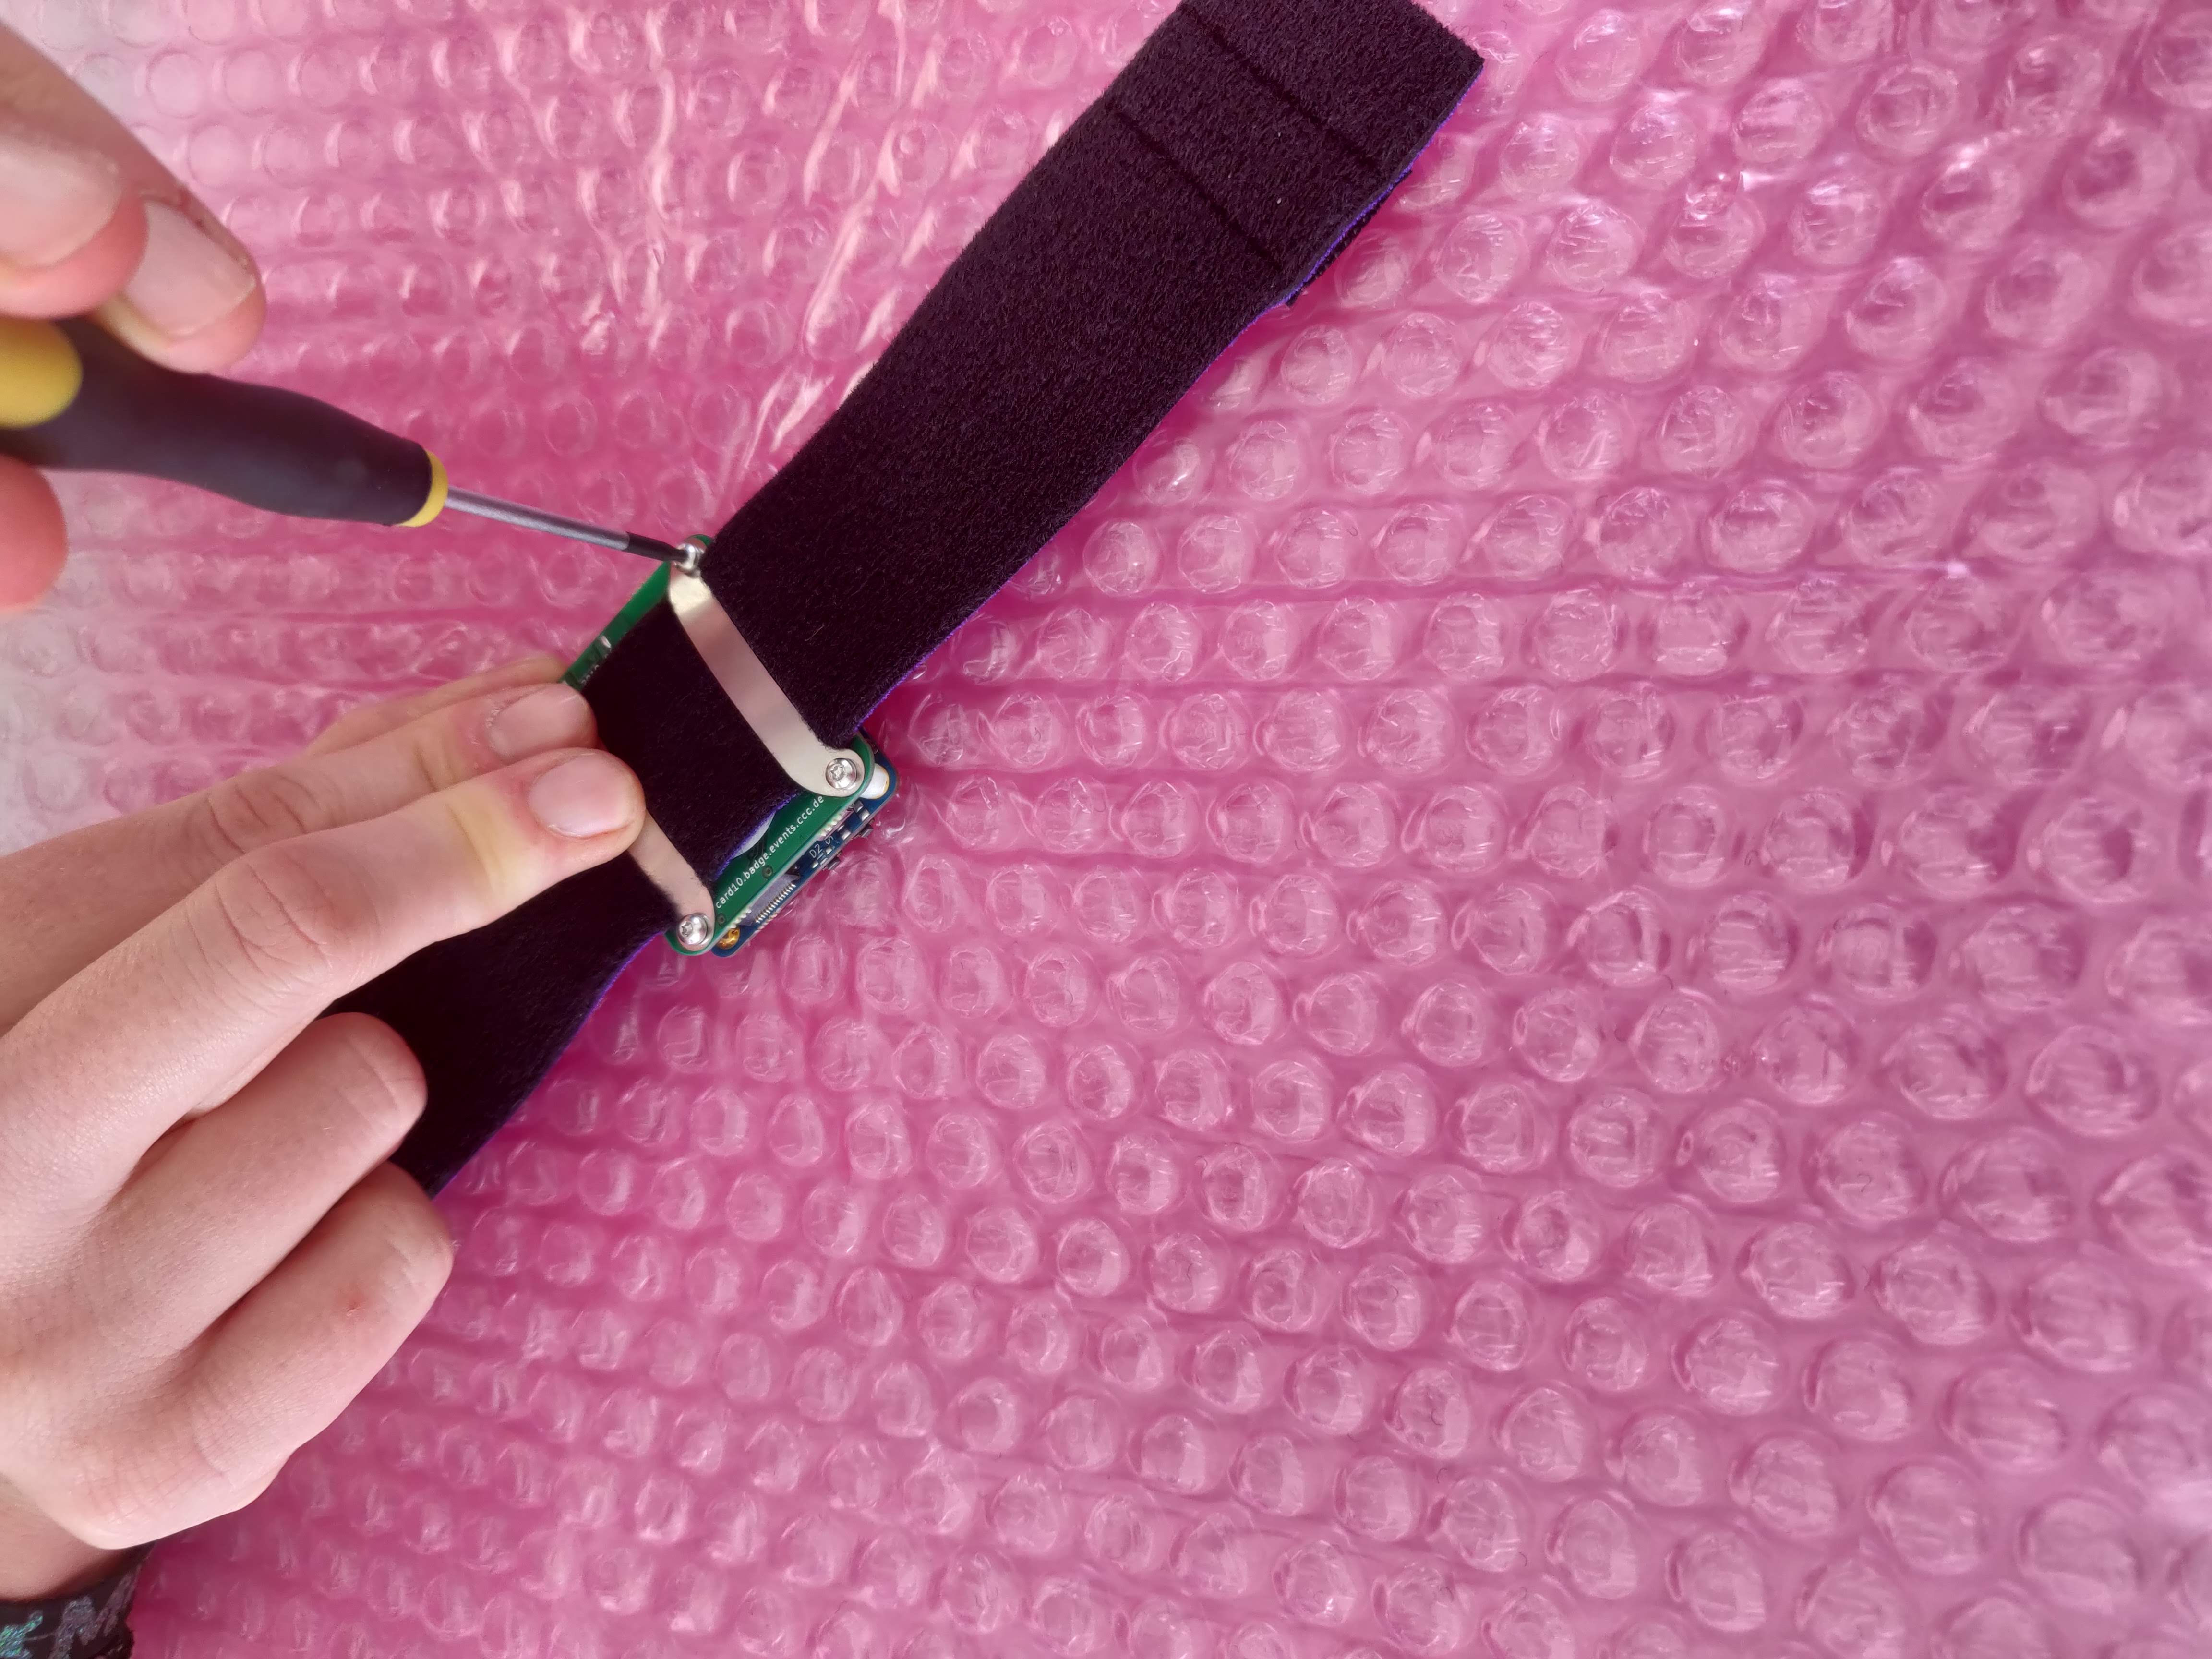
All that you’ll need is a Torx T6 screwdriver.
Assembly instructions
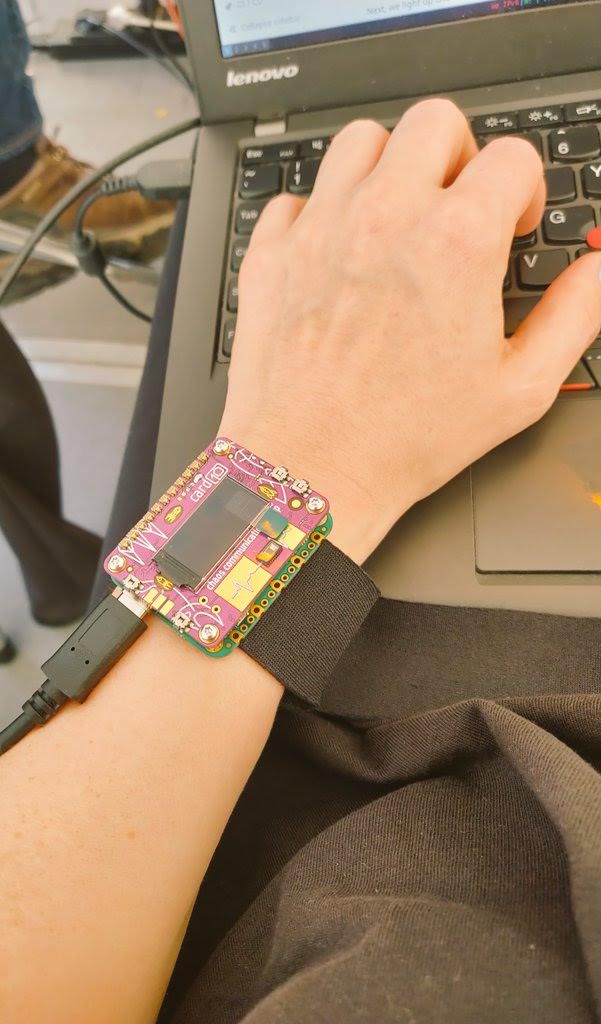
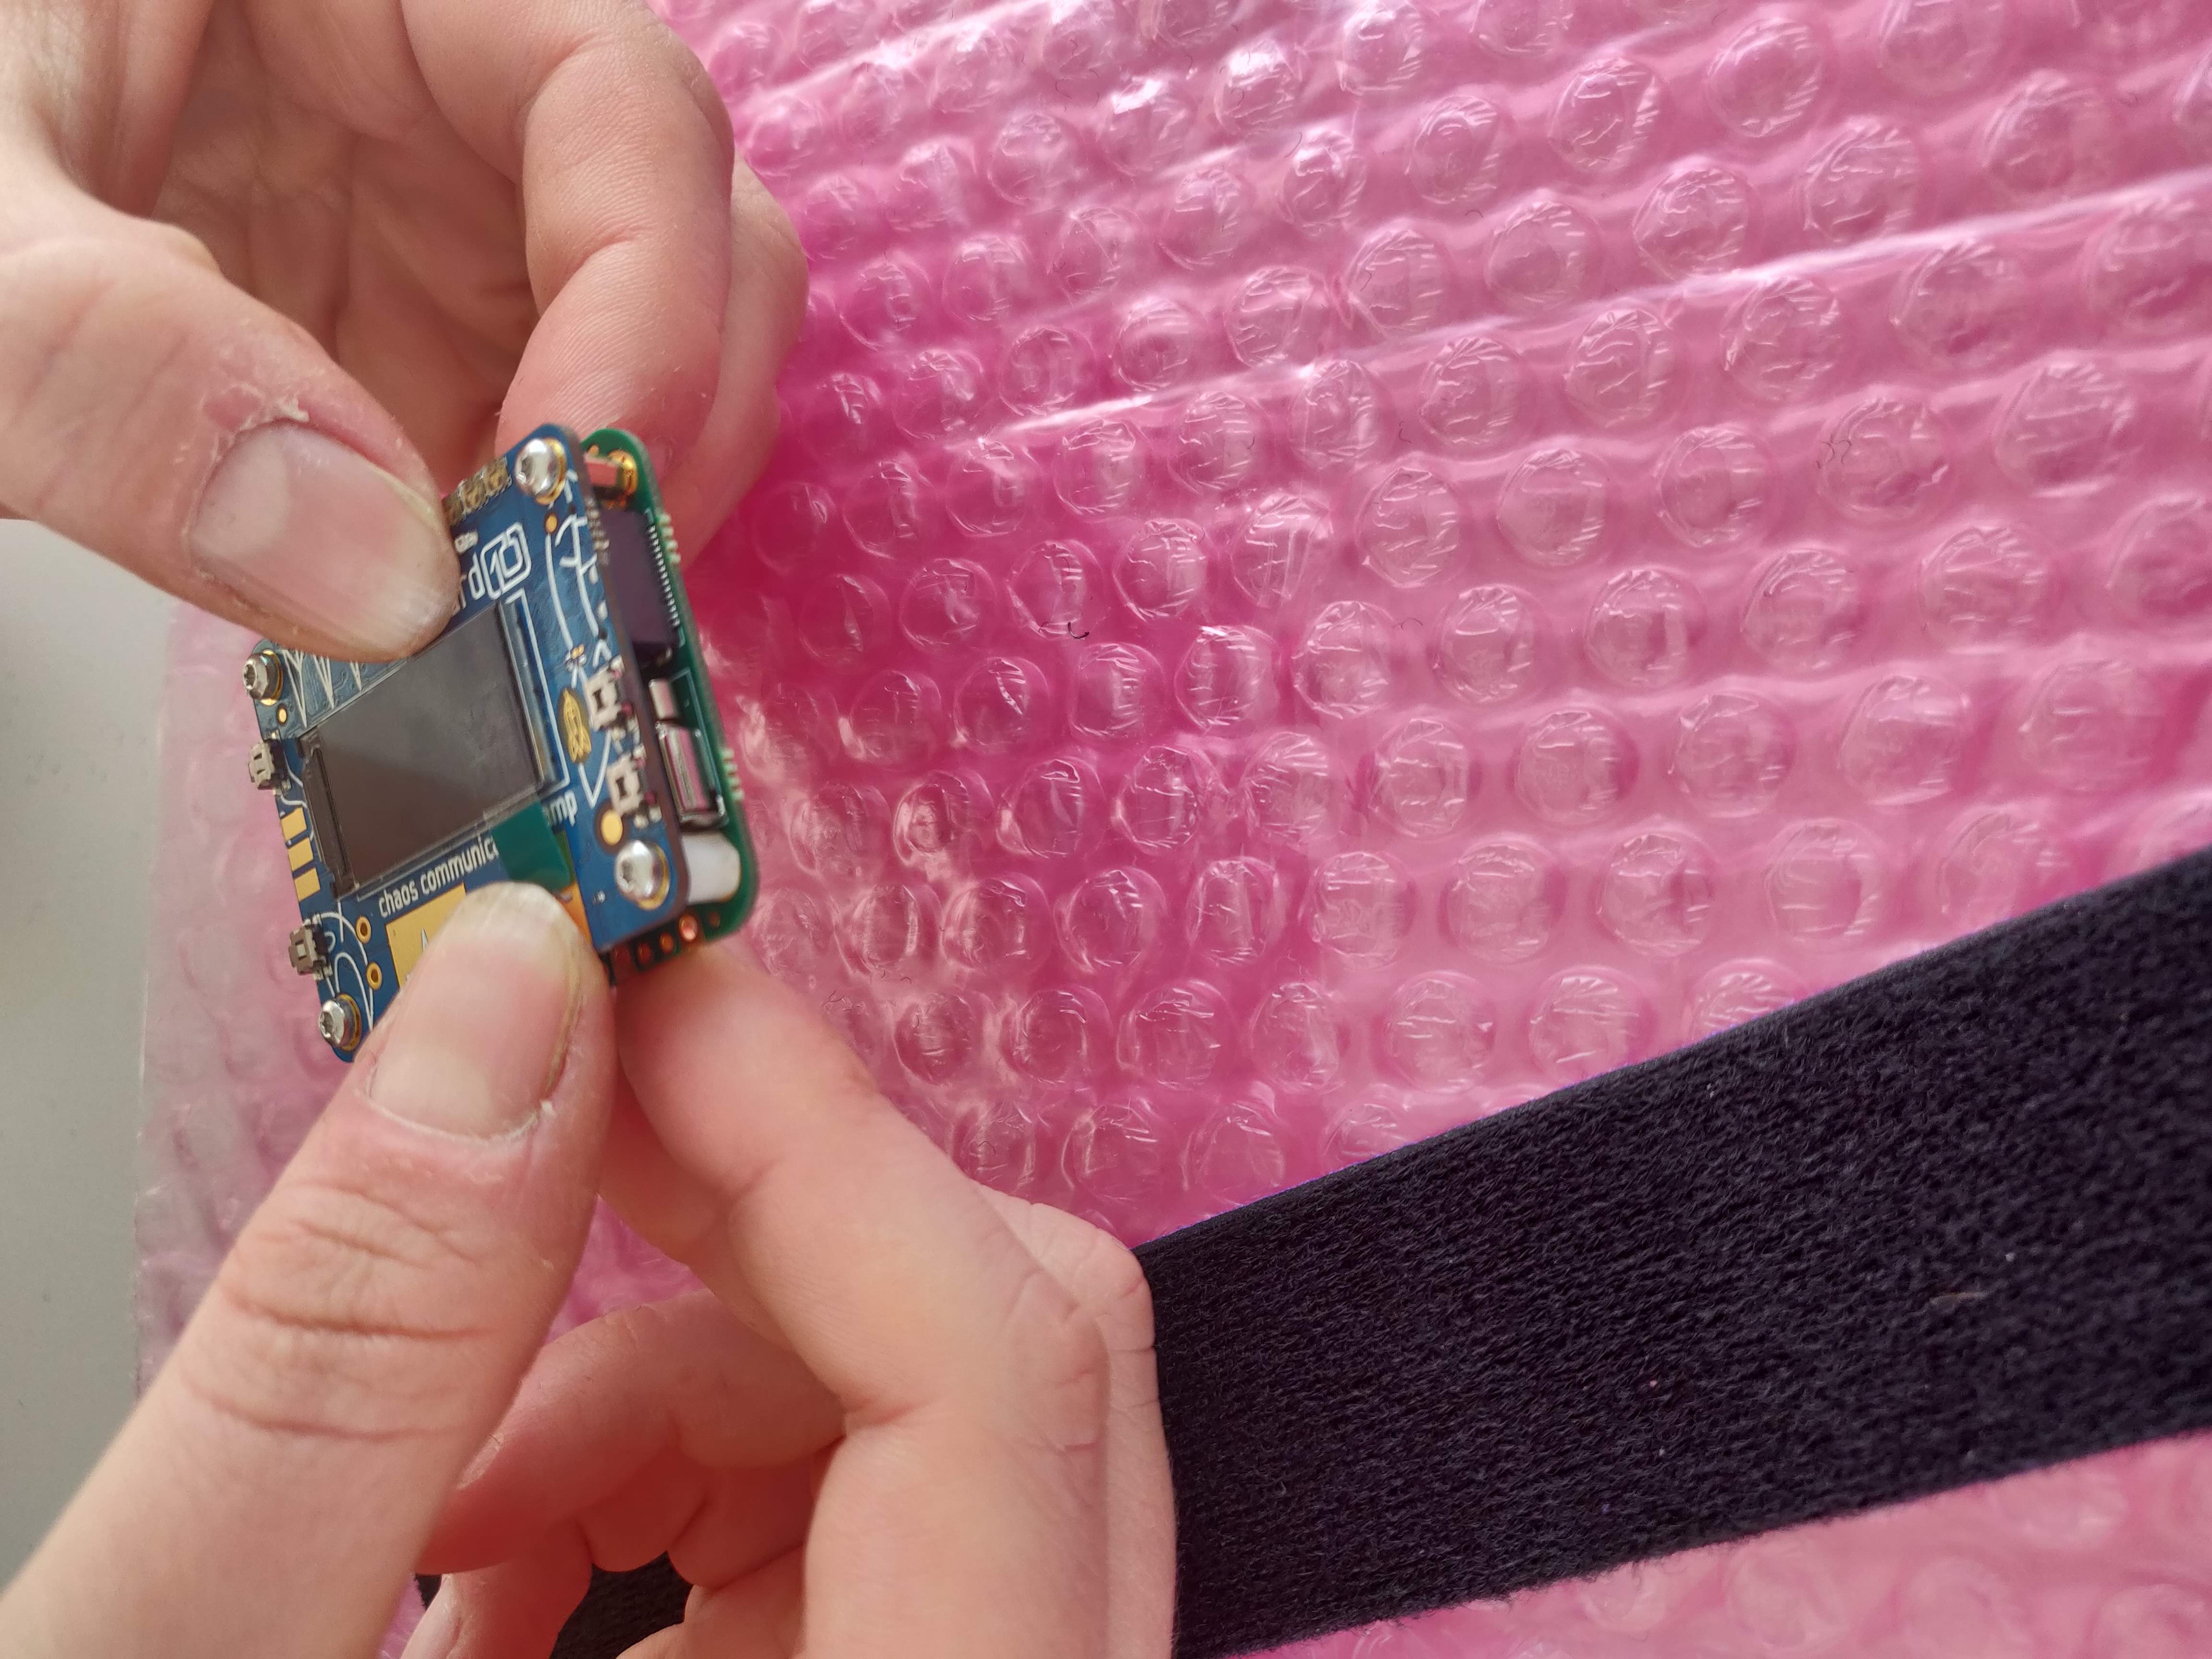
The main components of your card10 are two electronic boards, the fundamental board and the harmonic board. The fundamental board sits directly on the wrist band, the harmonic board with the display sits on top of it. If you are curious to learn more about the two boards, you can find a more detailed description on the hardware overview page. When unpacking and assembling, make sure to keep your protective foil on the display at first, until you had a look at the polarizing display FAQ section.
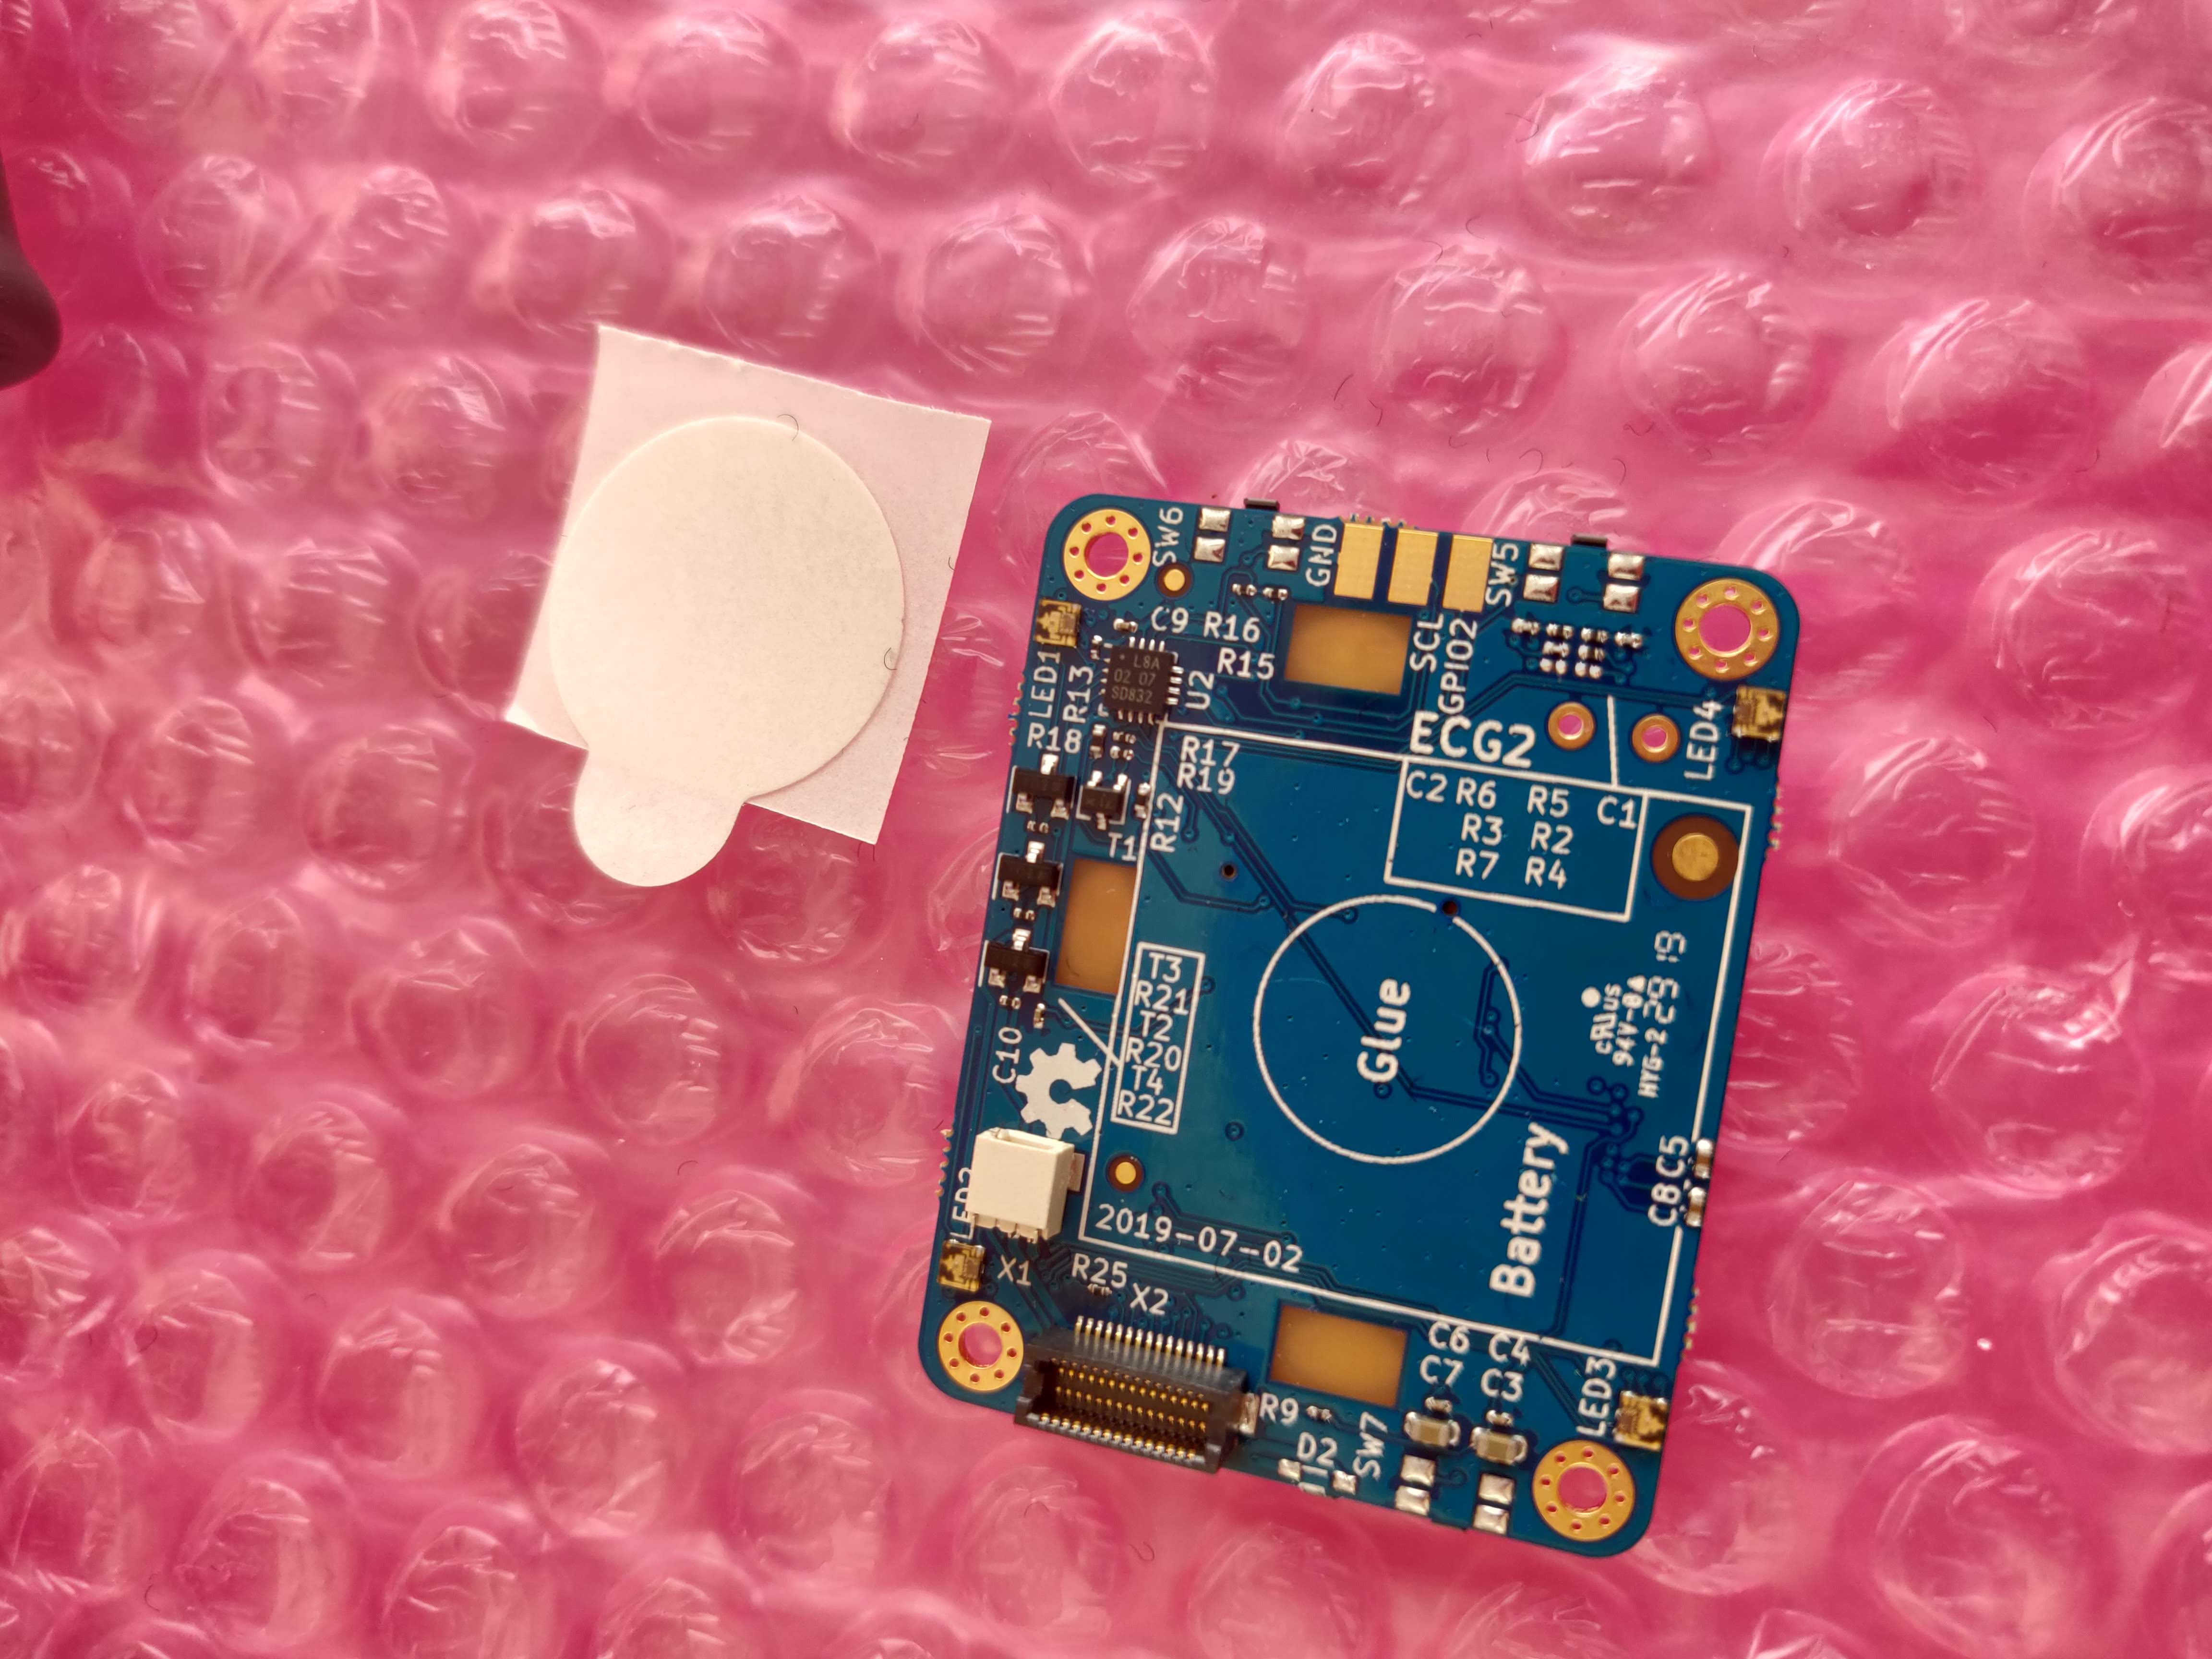
- use the glue dot to attach the battery to the harmonic board
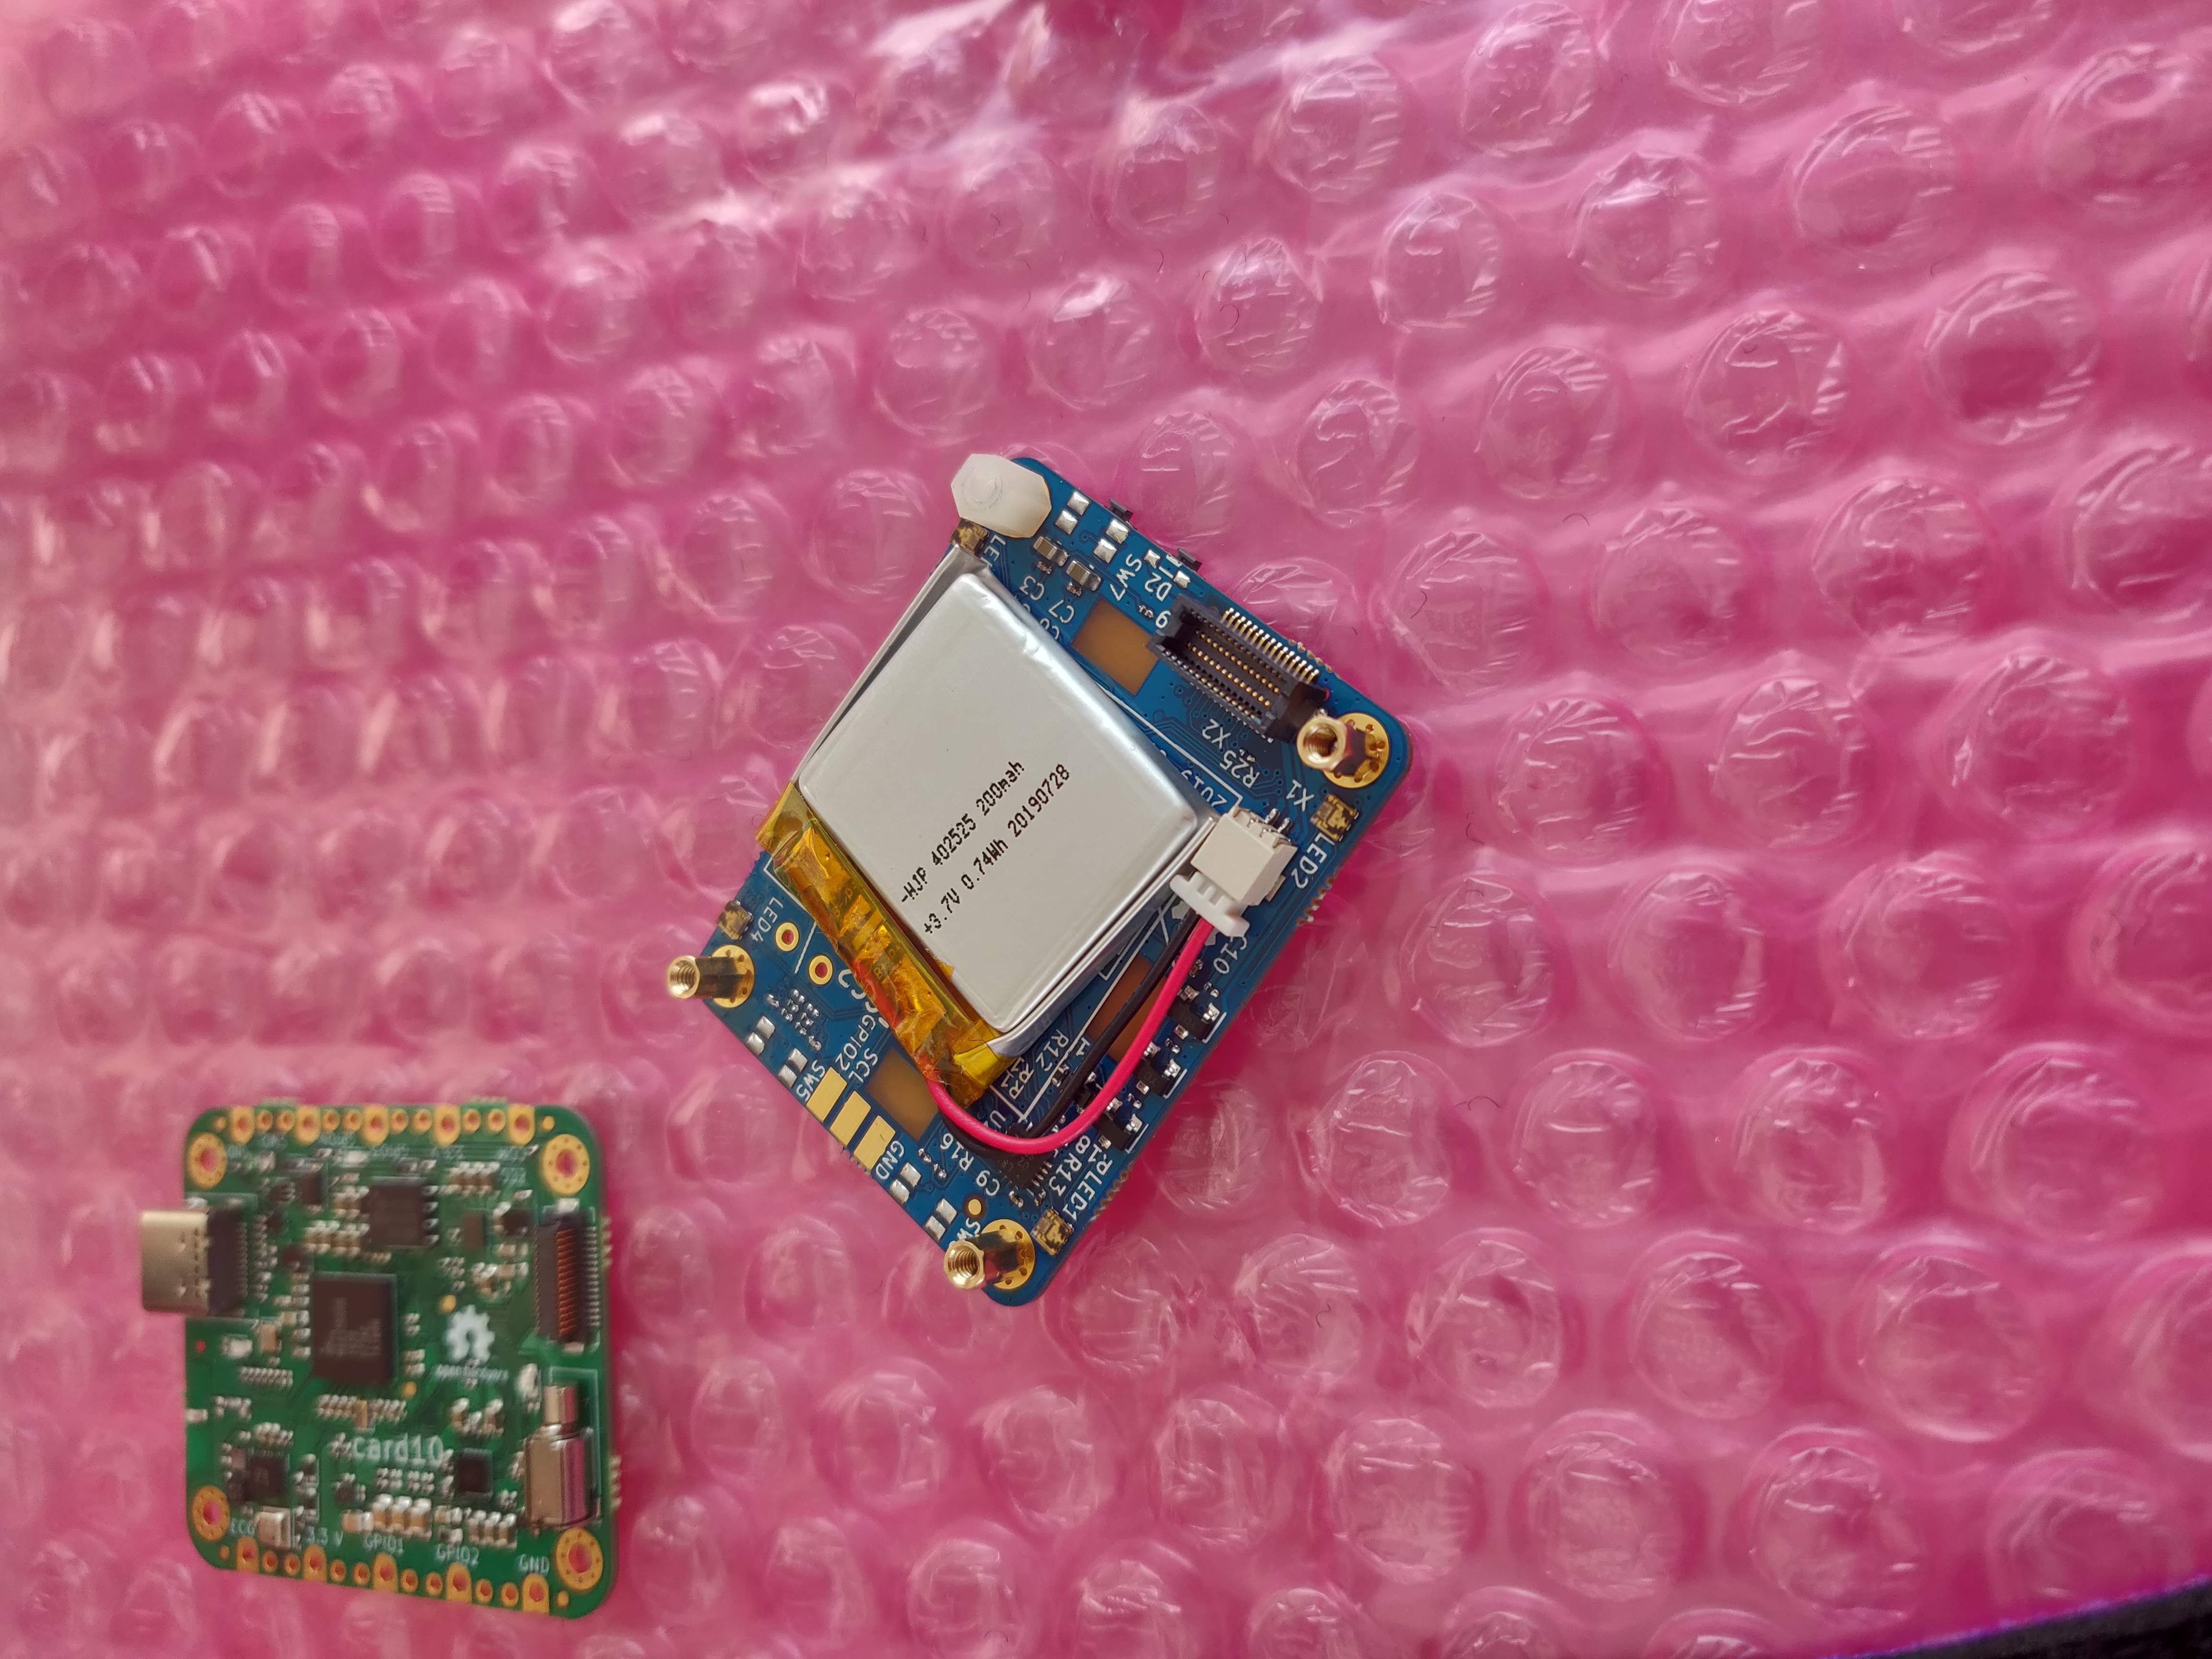
- plug in the battery
- attach the spacers with four of the screws
- put the nylon spacer next to LED3. The nylon spacer is not symmetrical, the flat side should face the fundamental board screw. Be careful not to fasten the screw too firmly to the nylon spacer, otherwise you risk damaging the thread in the spacer and the screw will become loose.
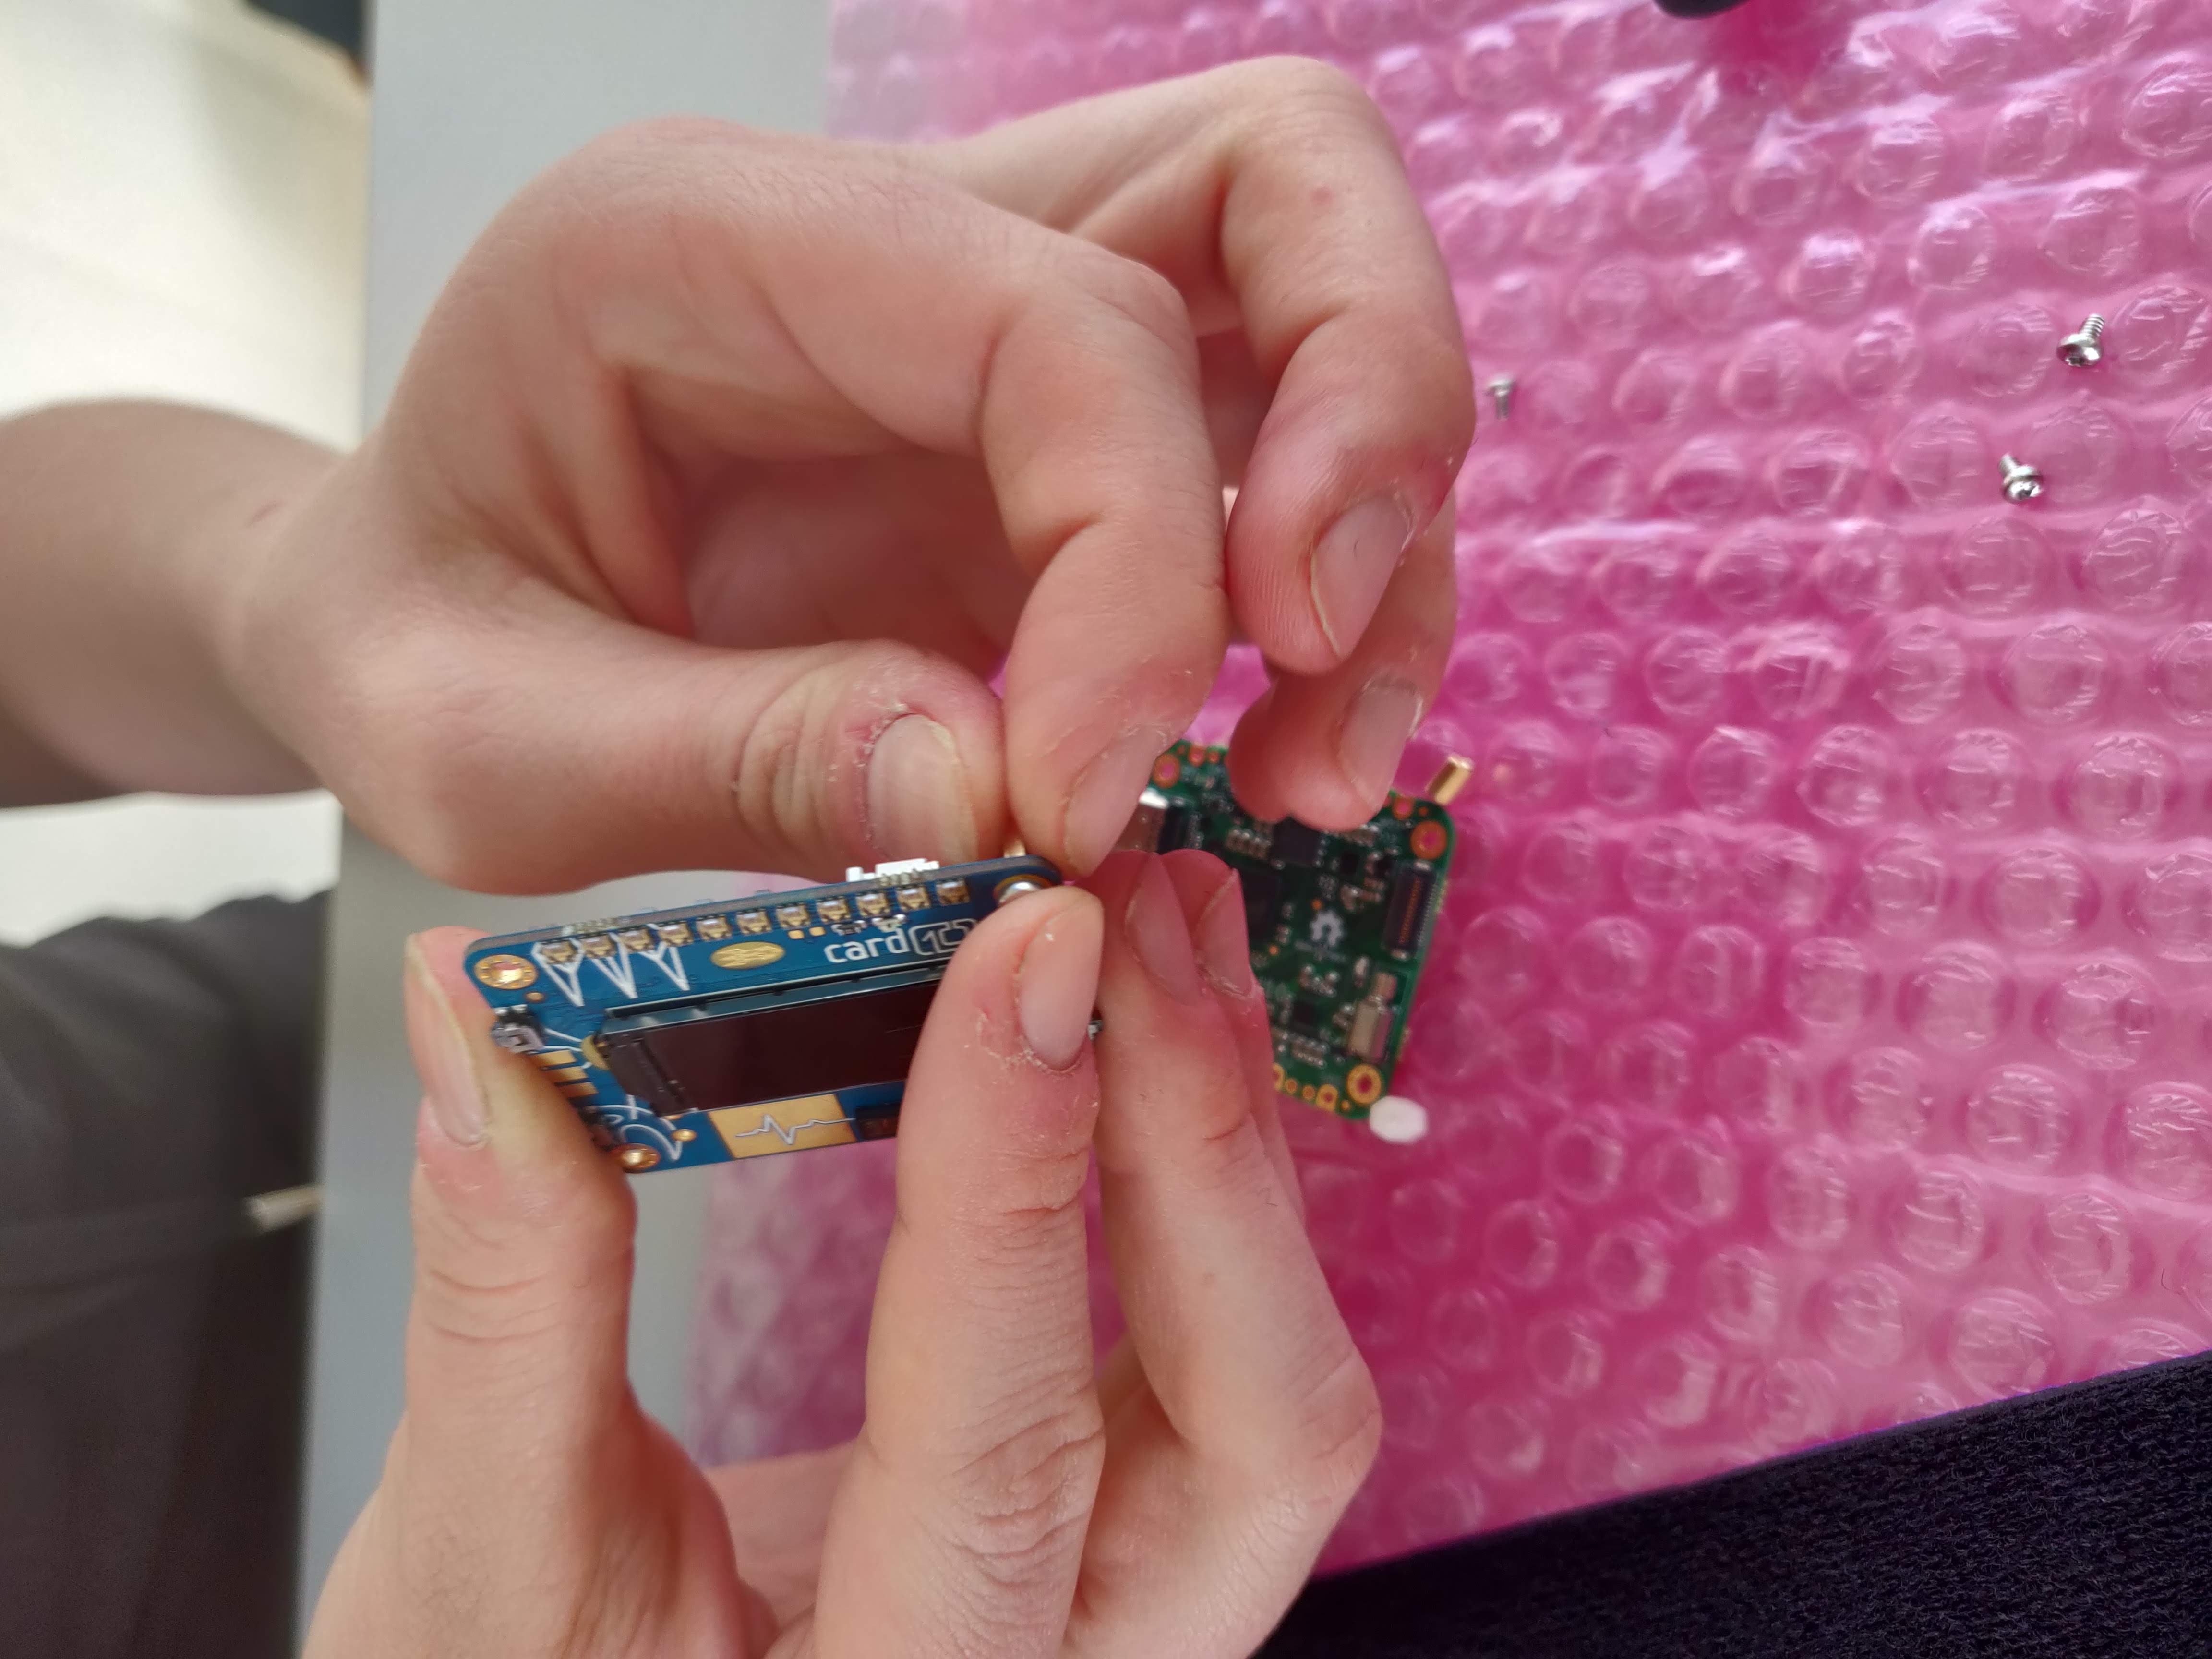
- carefully connect the two boards with the connector
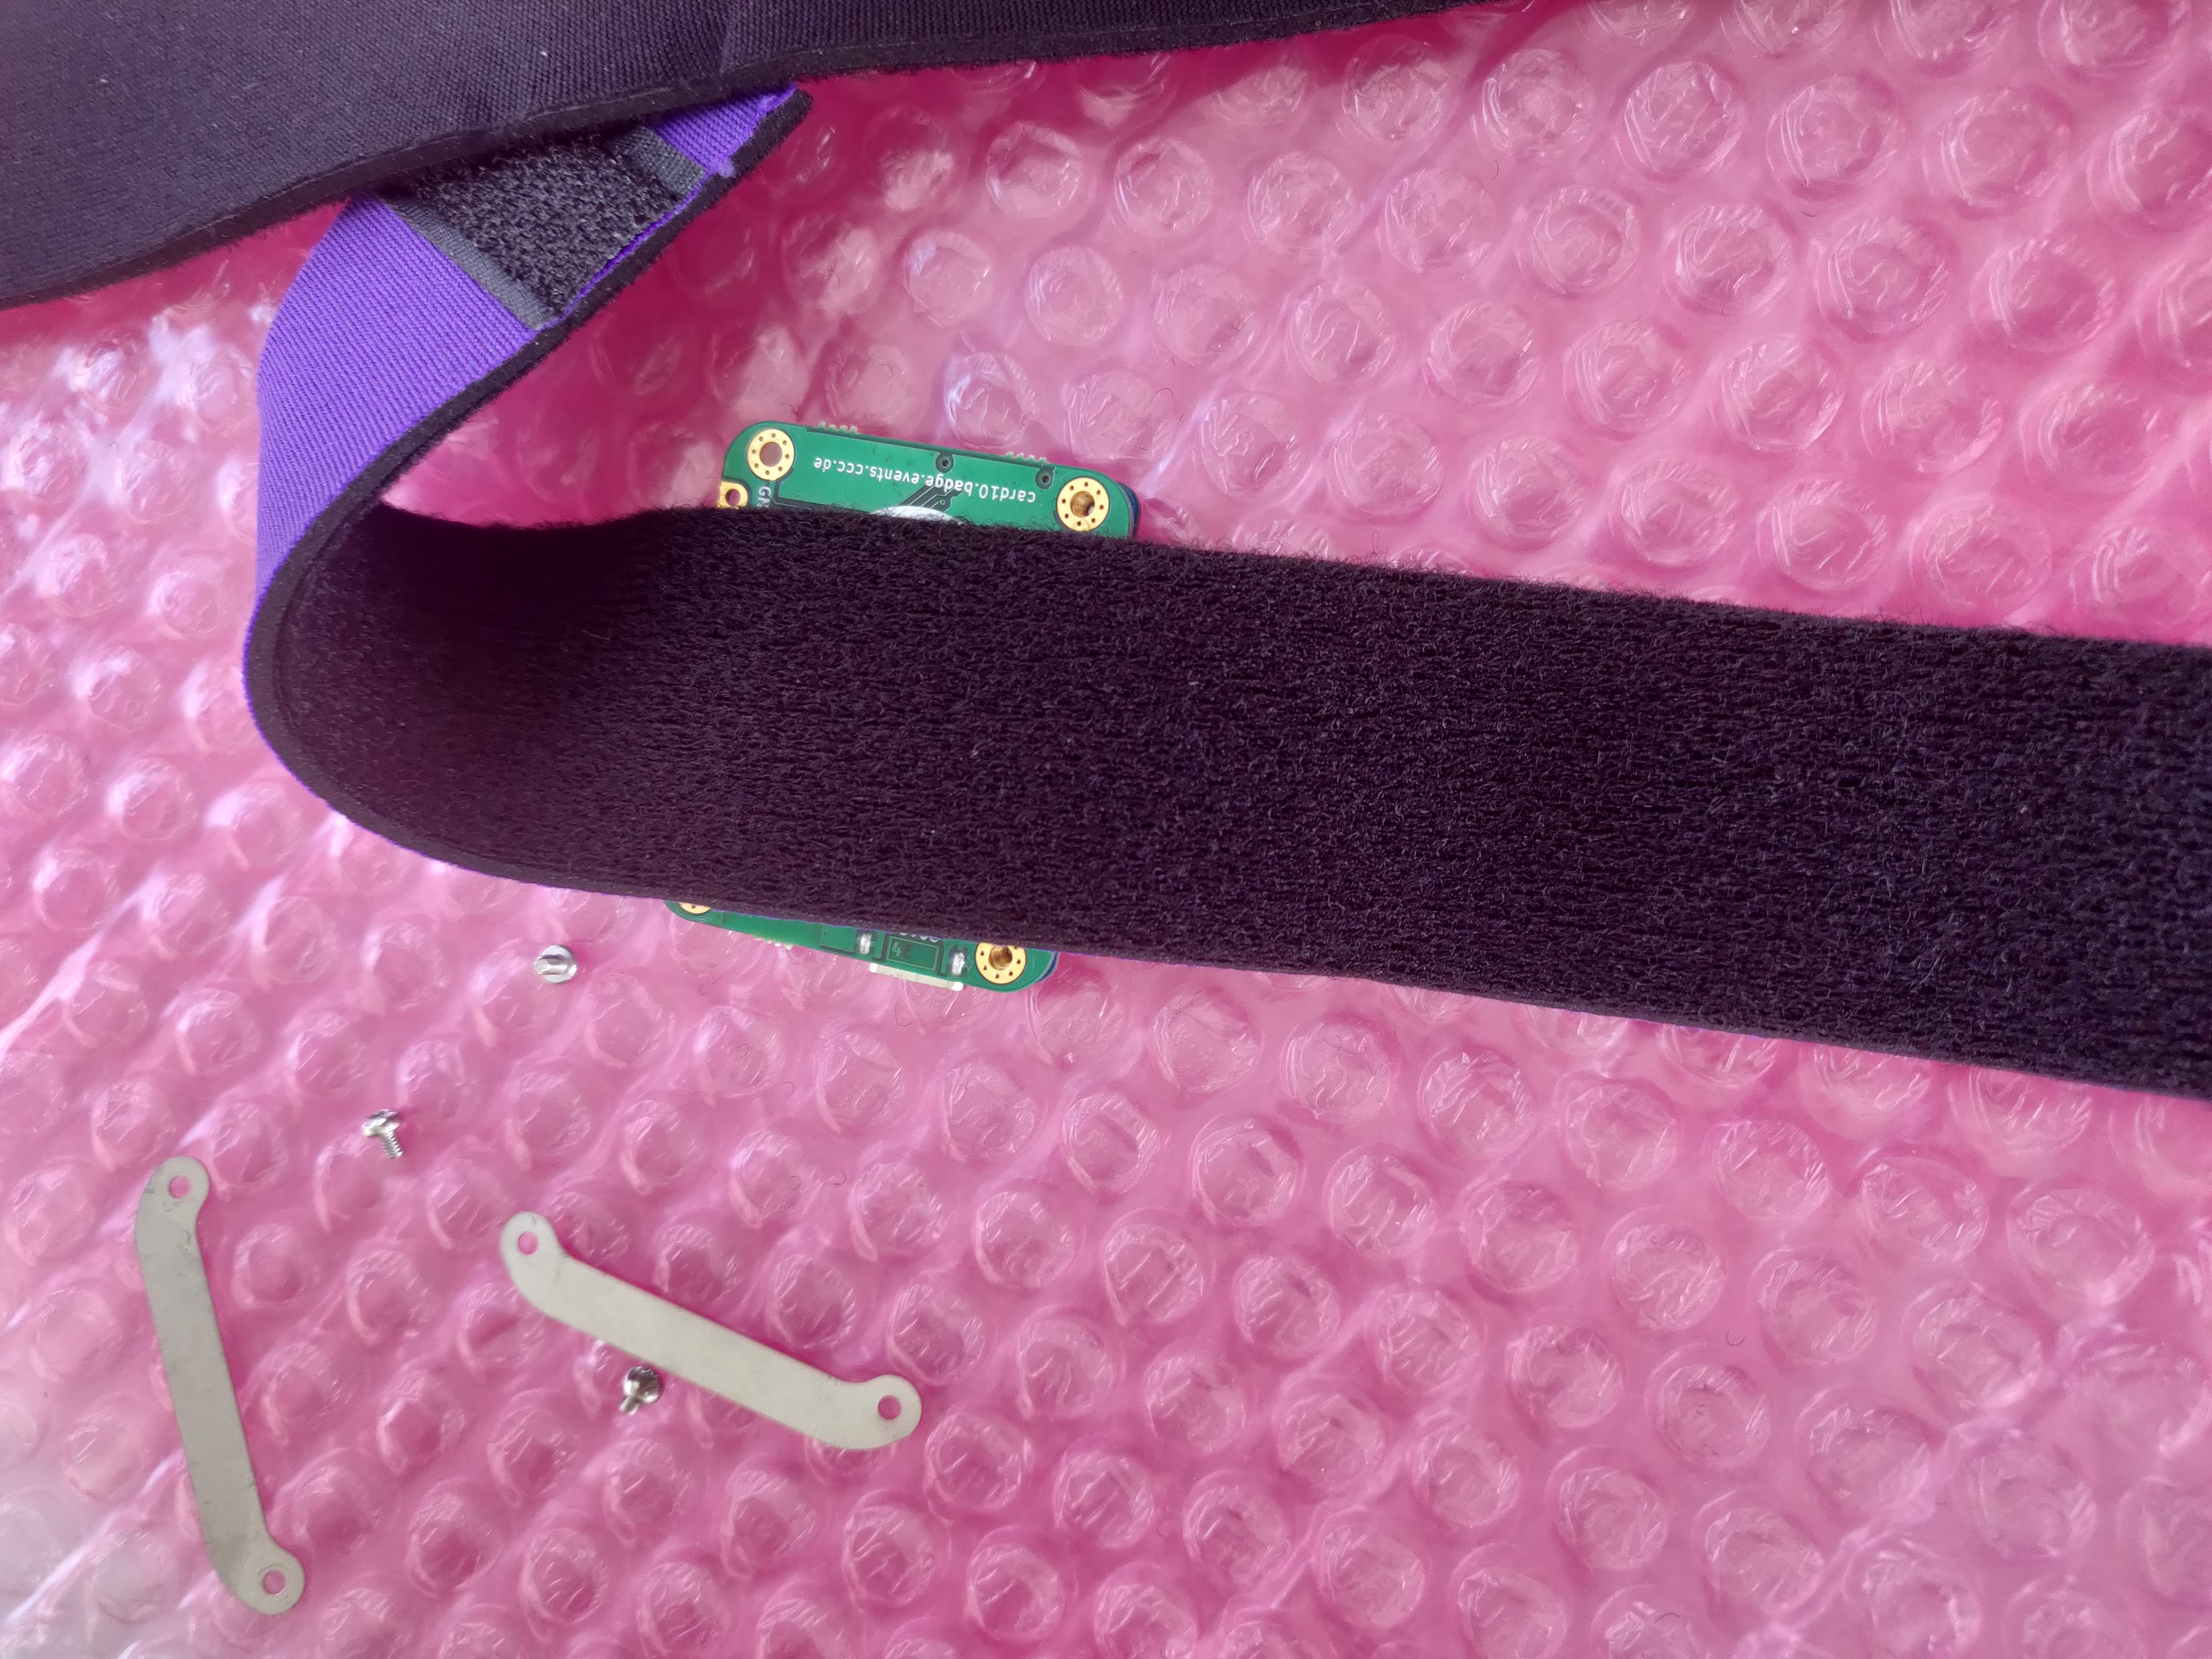
- place the wristband with its fluffy side up, put the metal bars on top of the badge and add the remaining screws
Have fun with your card10!
Now it’s time to switch on your card10.