General usage
Quick Nav
Buttons
There are four buttons on the card10 harmonic board: On the top left, just above the USB-C connector is the POWER button. Below is the LEFT/UP button. The buttons on the right side are closer together. On this side, the top button is the SELECT button, the one below it is the RIGHT/DOWN button.

Powering on
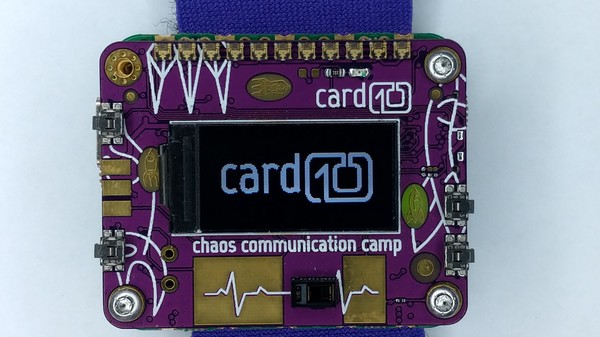
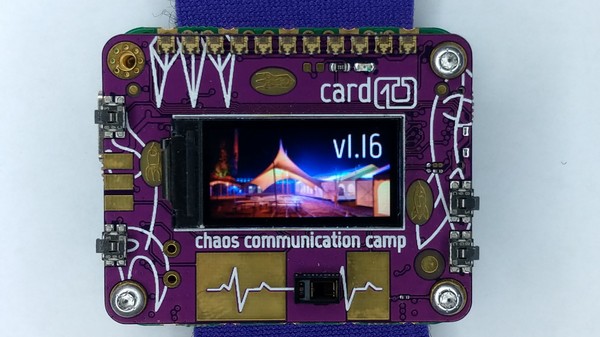
To switch on card10, briefly press the POWER button. After showing you which firmware version is installed, it will launch the default app.
Expected run time
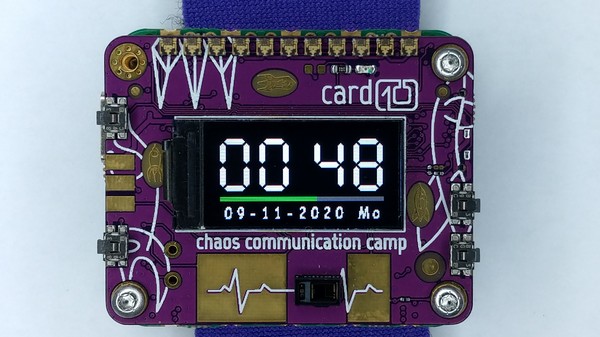
With the default watch face and the current firmware (version 1.16) , a card10 should last around 24 hours. It will go into standby mode when the battery reaches a critically low level. In standby mode it continues to keep the time for multiple days. Even with an “empty” battery.
The card10 signals going to sleep with this screen and by turning on the vibration motor:
Going to standby
The card10 has a standby mode in which it continues to keep the current time and date. In this mode it draws very little power and should last multiple months with a full battery.
To go the standby mode press the POWER button for a few seconds until you see this screen:
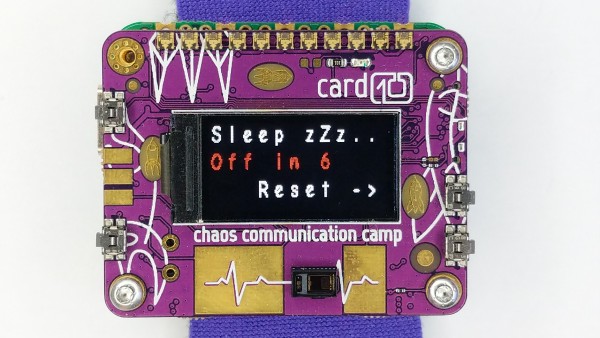
Let go of the button before the counter reaches 0 and your card10 will go to standby. If you keep pressing until the counter reaches 0, you card10 will hard turn off and lose the current time and date.
Powering off
Sometimes it is necessary to fully power off the card10:
- When storing it for a longer period to preserve the battery
- To reset it if the firmware is not able to go to standby anymore
- To reduce power consumption if a debugger was attached before
To fully power of the card10, press the POWER button for at least 10 seconds. If the firmware is working, you will see the card10 counting down until 0 and then turn off. If the firmware is not working, slowly count to 10 and let go of the button. Afterwards you can turn on the card10 as usual again.
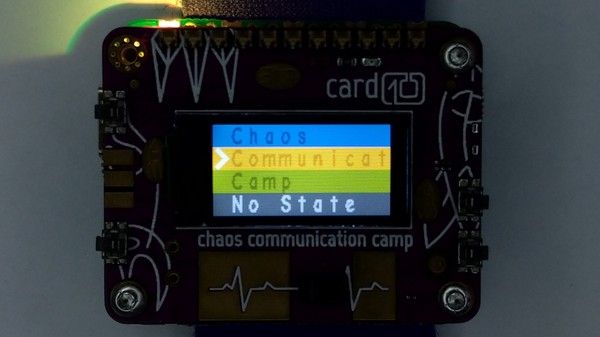
Starting apps
When your card10 is switched on, a short press of the POWER button
brings you to the app menu. You can scroll down with the RIGHT/DOWN button,
and up with the LEFT/UP button. The SELECT button starts the selected app.
The POWER button will always bring you back to the main menu, no matter what the current app is doing.
If you chose “Home” or let the menu time out (after 30 seconds) it will launch the default app.
Each time you press the POWER button the card10 will be reset into a known state. The LEDs, the sensors and the vibration motor will turn off. The display will turn on.
Setting your personal state
The card10 comes with an app to set your personal state. Enter the menu
by pressing the POWER button briefly. Select the Personal State app with the SELECT button,
and navigate to your state with the LEFT/UP and RIGHT/DOWN buttons. Unlike the other apps, the state of the personal
state LED will remain blinking and glowing even after you leave the app.
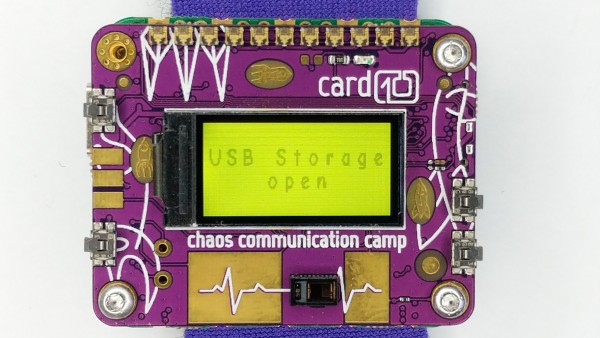
Installing apps via USB
Your card10 can function similar to a USB stick in its USB Storage Mode. You can use this mode to upload configuration files, firmware updates and apps. Another way to install apps is via Bluetooth using your mobile phone and the card10companion app.
First: connect another computer (or mobile phone) via USB to the card10.
Press the POWER button to enter the menu and navigate to USB Storage. Then use the SELECT button to activate the USB storage mode.

If you don’t have a USB Storage menu entry or your card10 reboots while using it, you can also use the bootloader to access your card10: First put your card10 into standby with a long press of the POWER button. Next, hold down the RIGHT/DOWN button and press the POWER button, until your display shows the text “USB activated. Ready.”. Use your operating systems “Eject Safely” function or press the POWER button again to exit the bootloader after you are done.
You can now use your computer to access the internal file system of the card10. The apps folder contains all applications which are installed on the card10. The card10 comes with a few applications already pre-installed which you can find as well in the apps folder.
Important: Don’t forget to eject/unmount the card10 before unplugging it or pressing any button.
To get additional applications please go to the badge.team hatchery and select card10 as the badge model:
![]()
You can now browse the different applications. After selecting one, you can press “Download latest egg (tar.gz)” which contains the files needed to execute the app on your card10. Simply download the file and extract its contents into the apps folder on the card10. You can also update already installed applications this way:
After transferring the application files don’t forget to use the “Eject Safely” functionality of your operating system to make sure all data gets written to the card10.
If you experience issues with apps not working, weird files showing up, the file system being read-only or your operating system talking about a corrupted file system, go to the file system maintenance page and follow the instructions to repair the file system.