ECG usage
Quick Nav
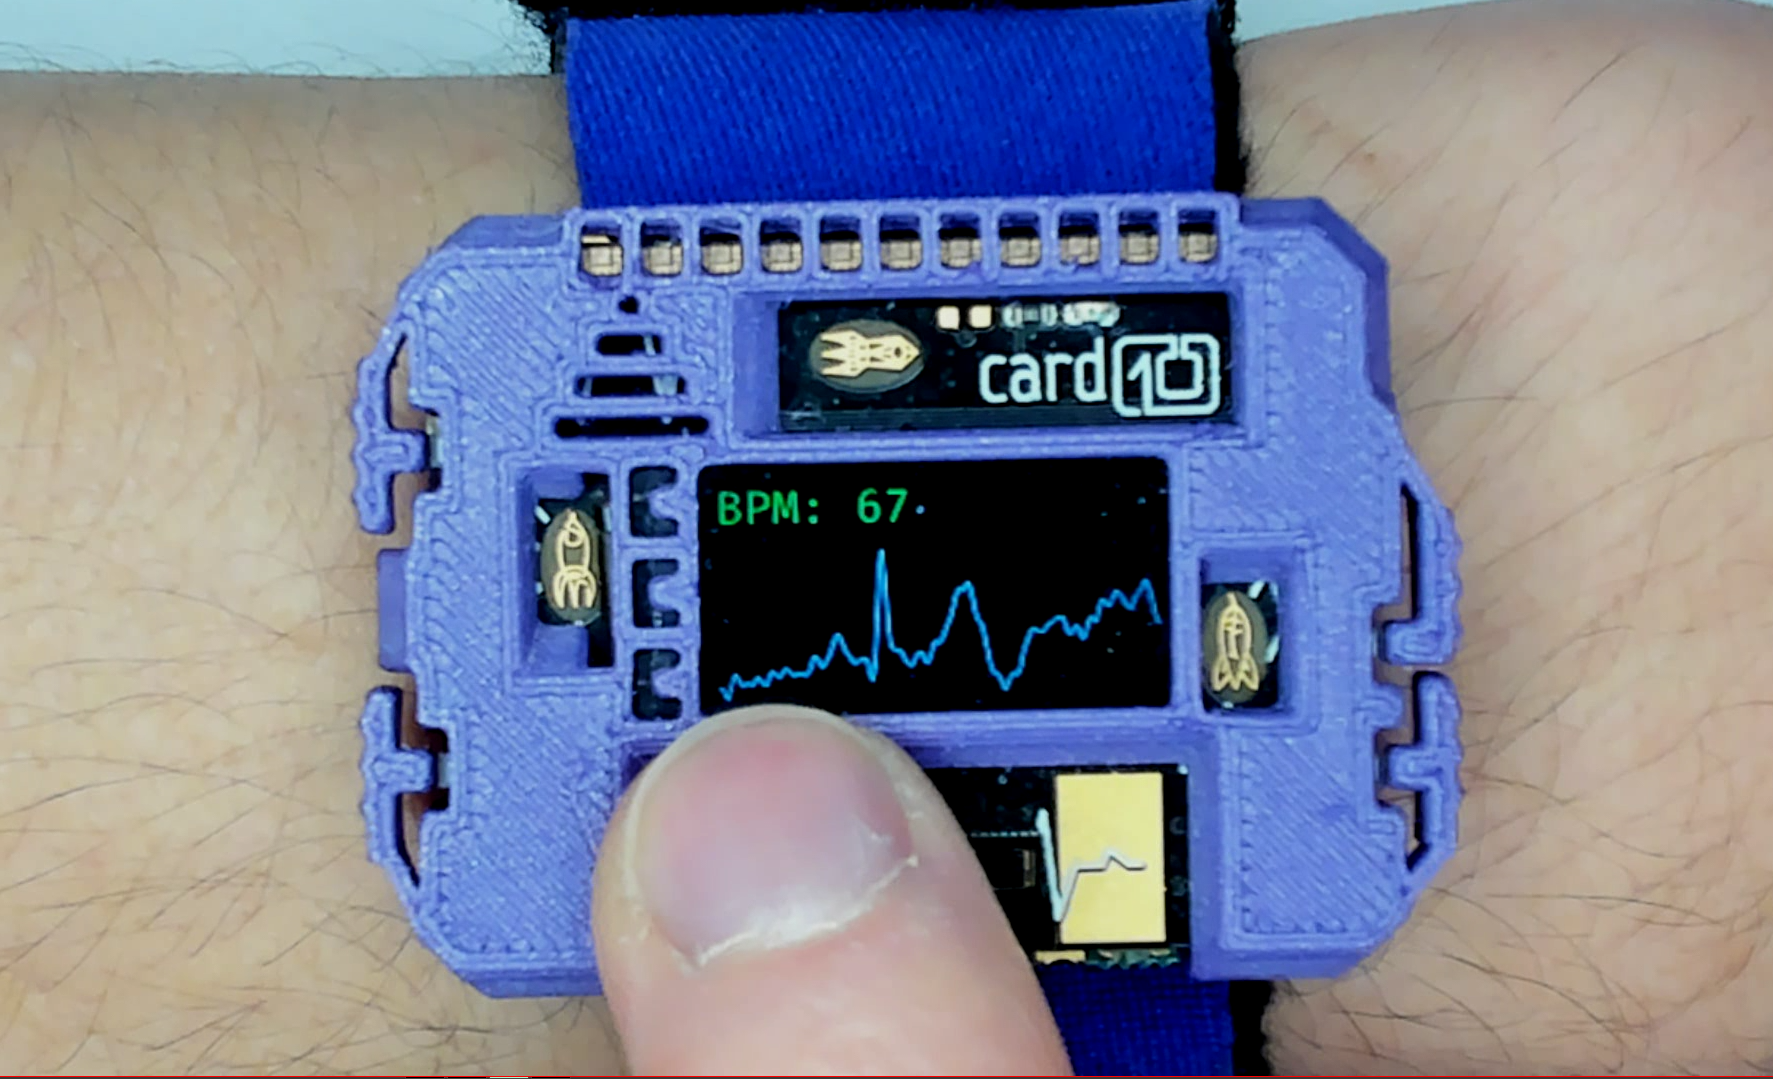
The card10 features a single channel ECG sensor. There are two general ways how to use it (there are more, see the “Contact options” section):
- Wearing the card10 on your wrist and pressing a finger on one of the gold contacts
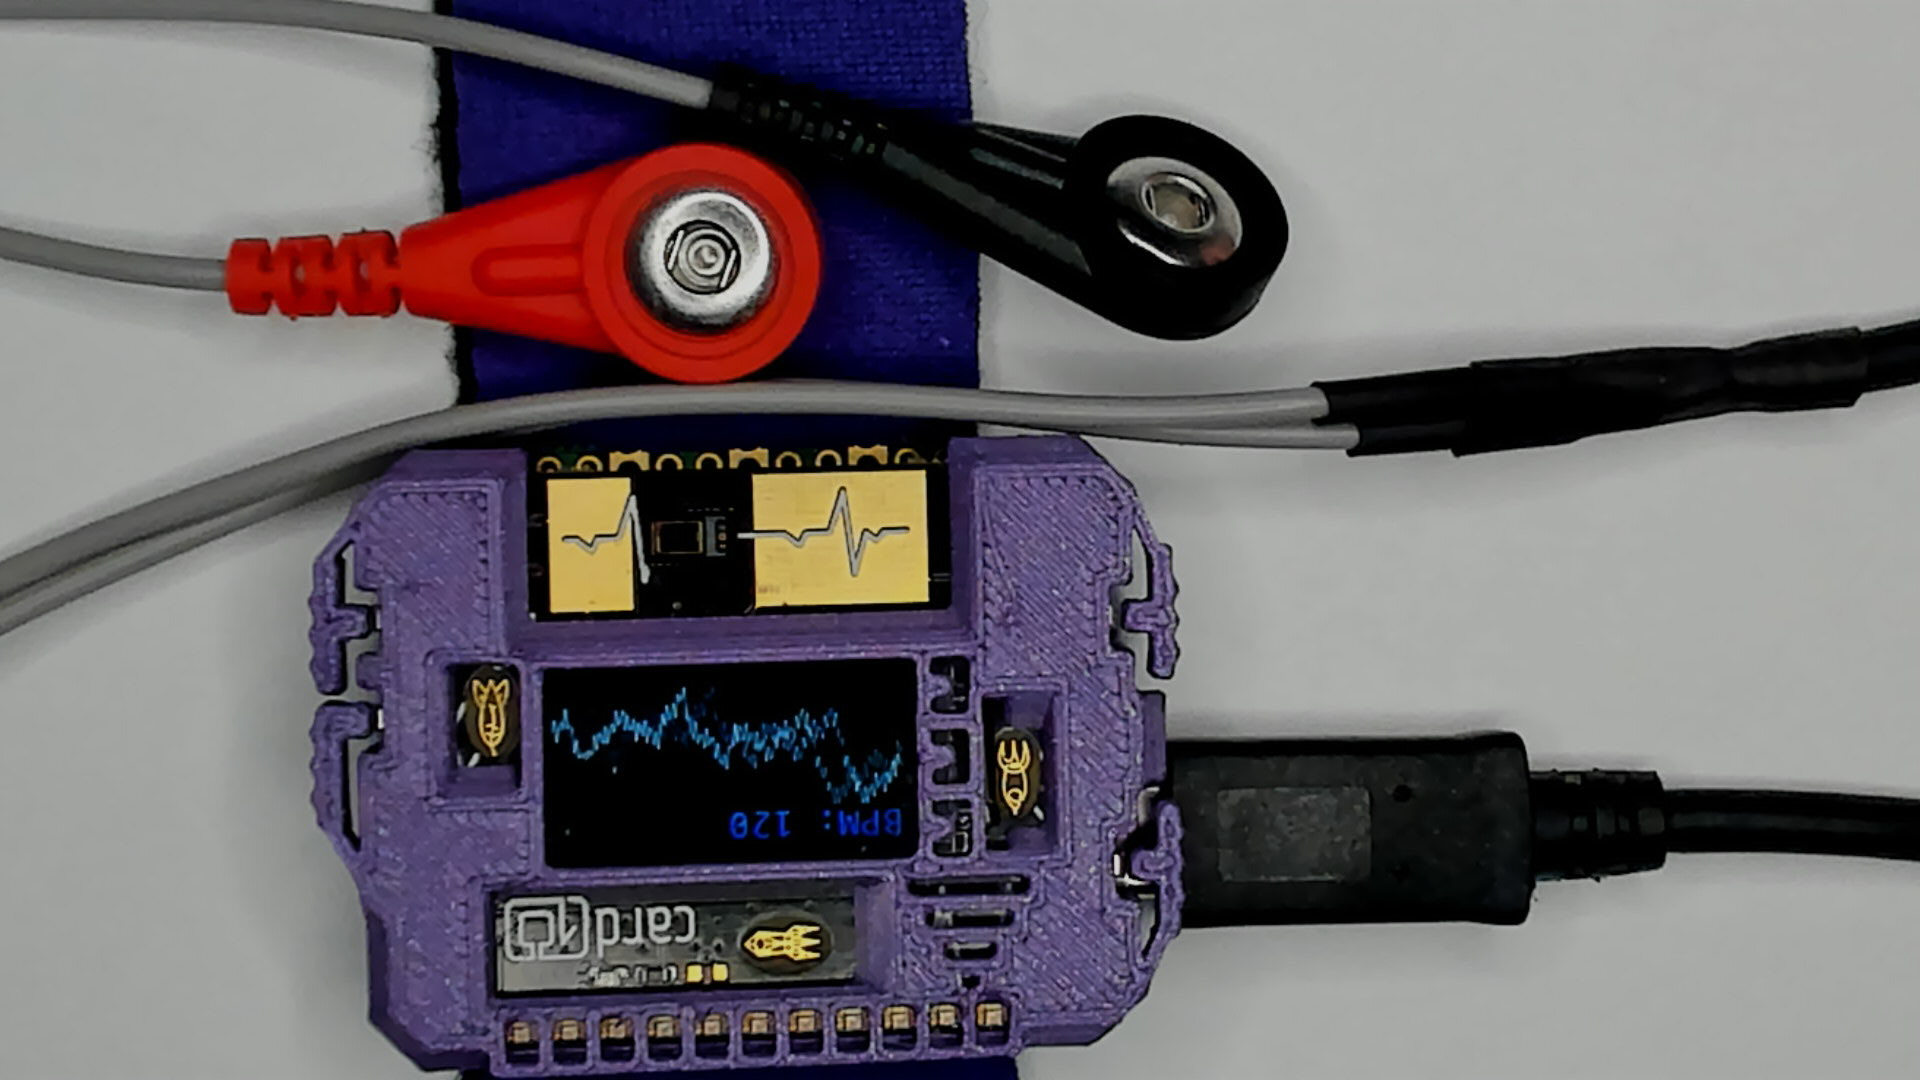
- Attaching a USB-C to ECG electrodes adapter
Using external electrodes will provide better signal quality and offers more flexibility on what and how to measure.
Do not attach a USB connection to the card10 while waring it. It is a safety hazard (think electric shock because of a bad USB power supply) and it also makes the ECG measurements unusable.
Currently there are two ways how to see and save the data:
- Using the ECG app on your card10
- Using the card10 companion app on Android
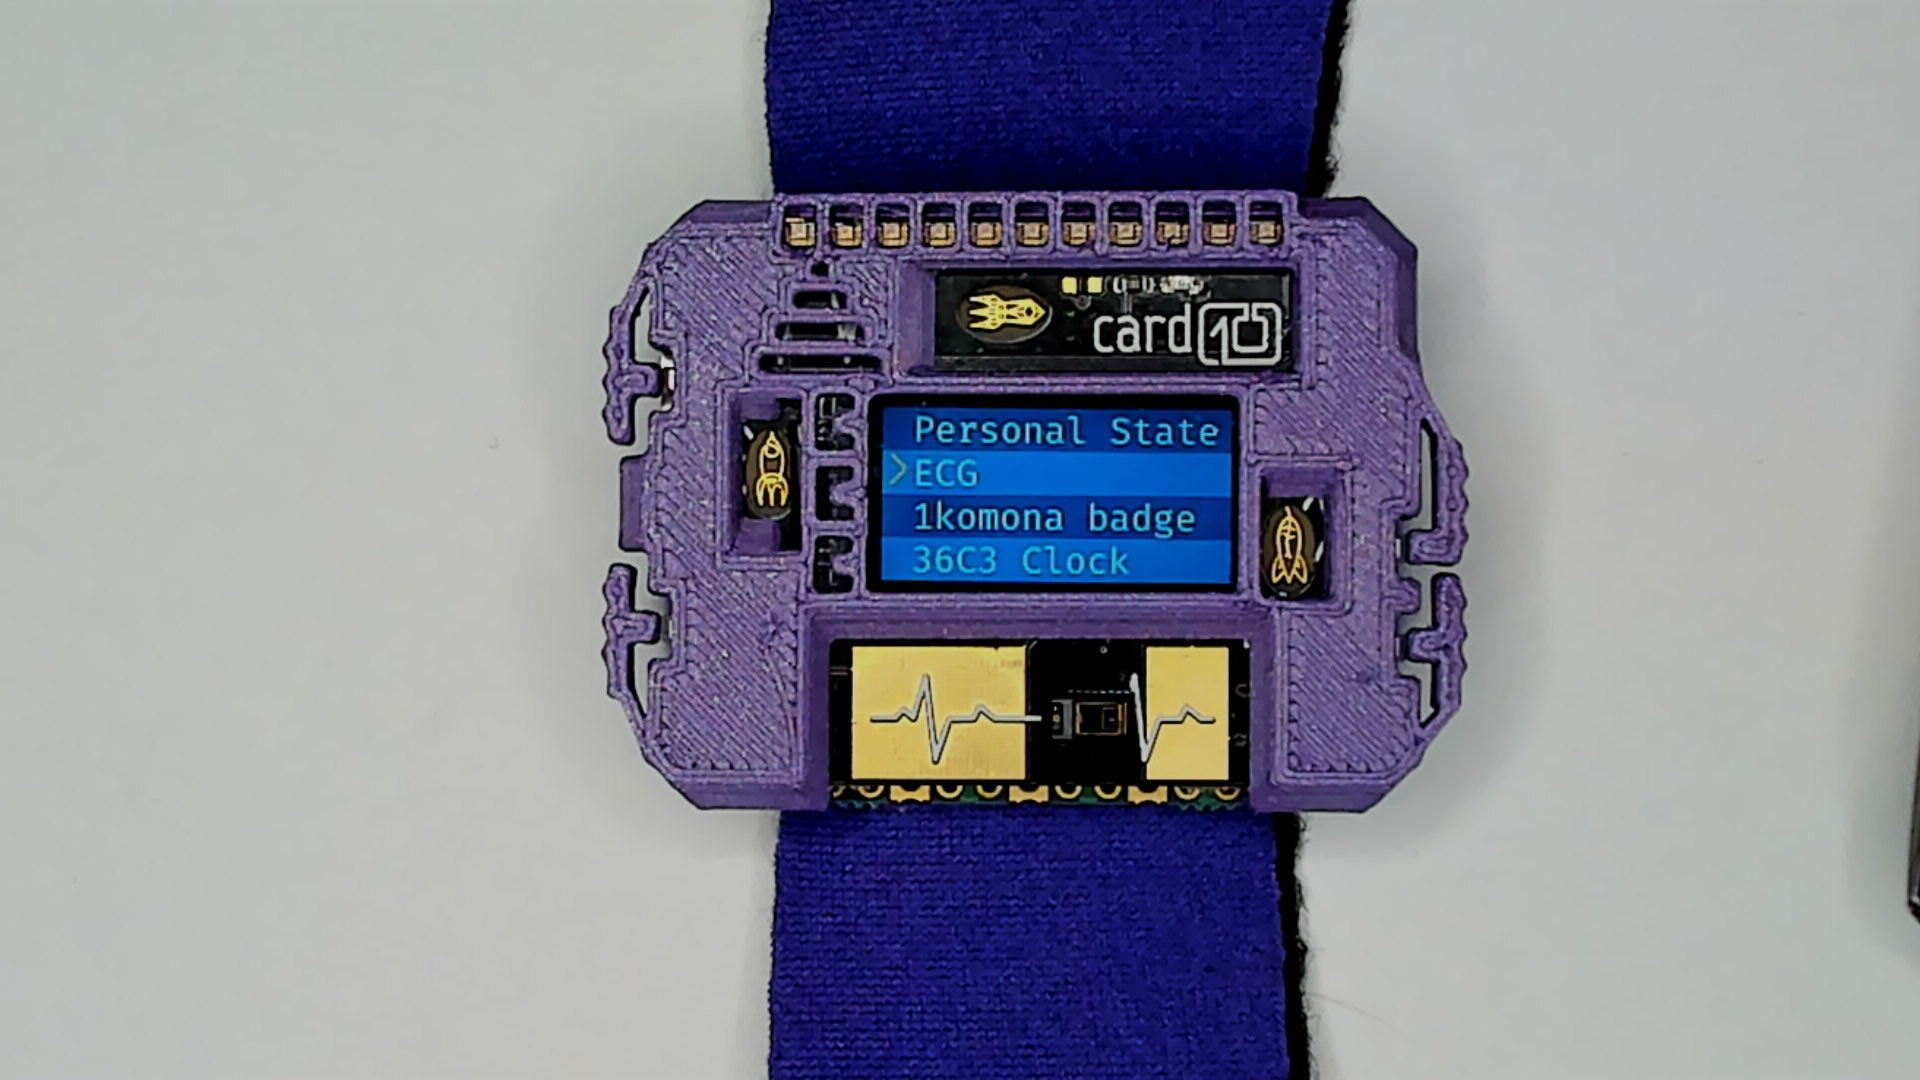
In both cases you will need to start the ECG app on your card10. It is able to configure all parameters of the sensor via a menu system and allows to log the data to a file on the card10.
If you have your card10 paired to an Android phone you are also able to send the measurements to your phone via Bluetooth Low Energy (BLE). Make sure to use the latest card10 firmware and card10 companion app to use this feature. Minimum versions are:
- card10 firmware v1.18 (Queer Quinoa)
- card10 companion app v0.9
ECG app menu options
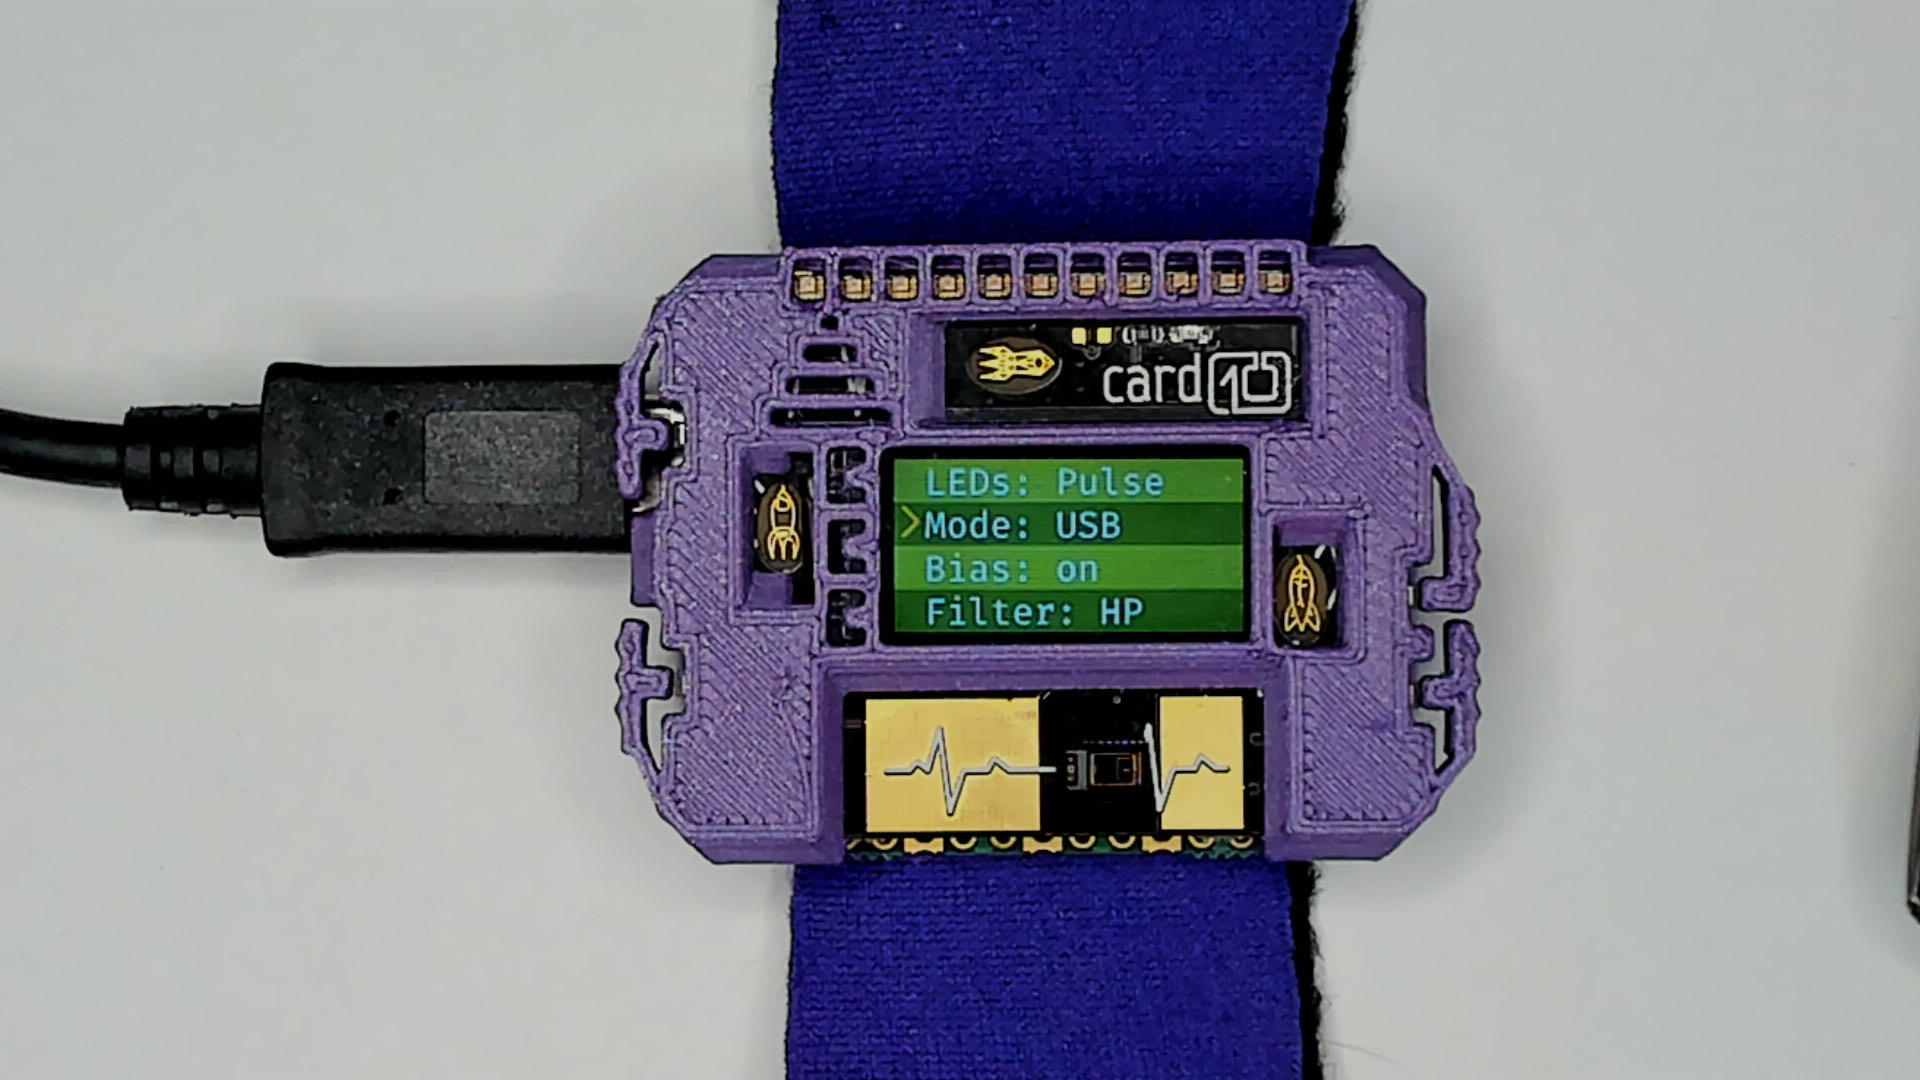
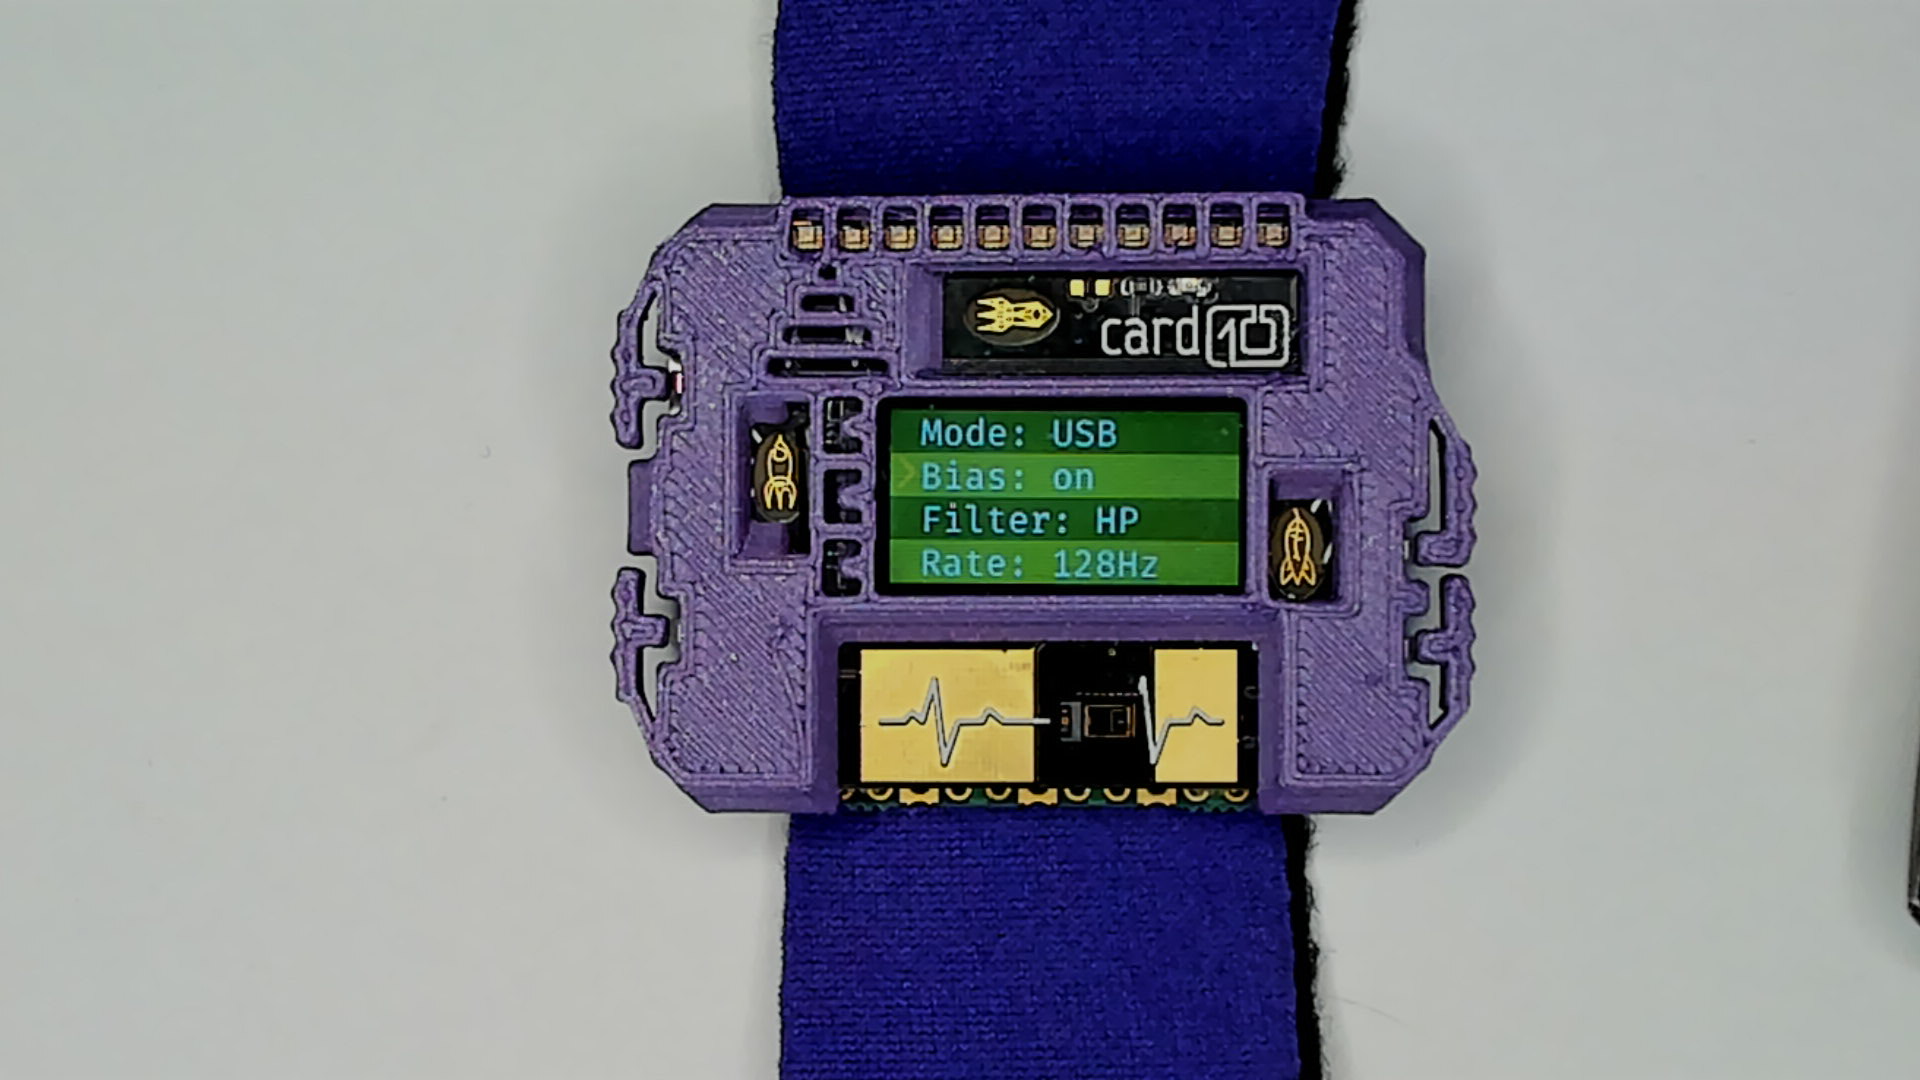
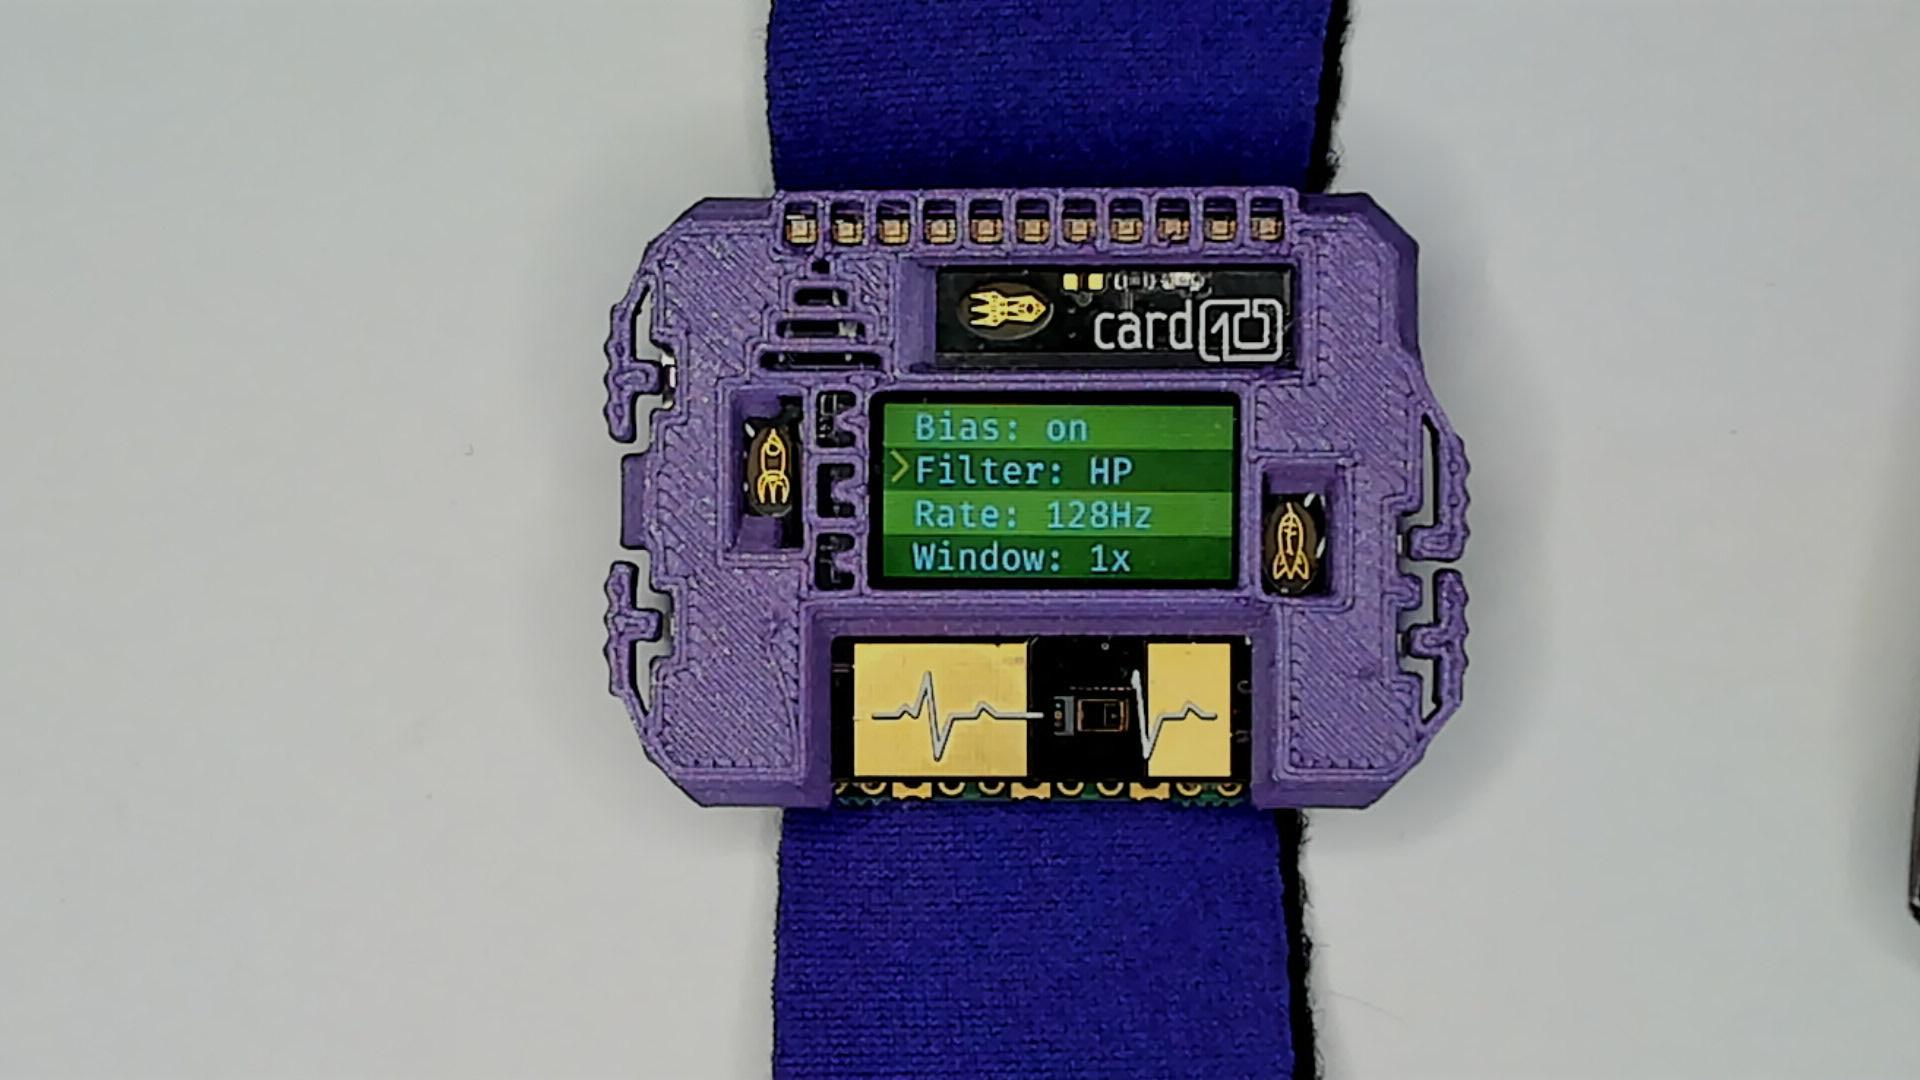
The ECG app offers a menu system to change the main parameters of the ECG sensors. You can enter the menu by pressing the lower right button. By default you can then use the lower left and lower right buttons to navigate between the different menu items.
Mode
Use this to switch to switch between using your wrist/finger as a contact or external electrodes, connected
via USB-C.
Bias
The bias option selects if a small bias voltage should be applied to the positive and negative ECG electrodes. This helps the ECG sensor to make better measurements with less noise. It is turned on by default.
There is an alternative option to supply the bias voltage to the body: The third electrode which is at the bottom of the card10. When you wear the card10 on your wrist this electrode also makes contact to your skin and supplies the bias voltage. In this case you can experiment and turn off the bias voltage in the menu.
It is highly recommended to have this option active when using external electrodes, as you don’t
need to have the back of the card10 connected to your body in that case.
Rate
The sample rate at which the data is taken by the sensor. The default is 128 samples per second. So far this seems to be plenty. You can increase it to 256 samples per second if you want to.
Filter
Muscle movement can easily swamp the ECG signal and make it hard to see. By default the card10 applies a high-pass (HP) filter to reduce the effect of this. It is especially relevant when using the card10 on you wrist without external electrodes. If you use external electrodes, give it a try and turn of this filter.
The signal written to the log file or transmitted via BLE to the Android app is not affected by this filter.
It is purely for displaying the ECG data on the card10’s screen.
Contact options
Finger
Finger ECG
Your card10 comes with a number of fun things to play with
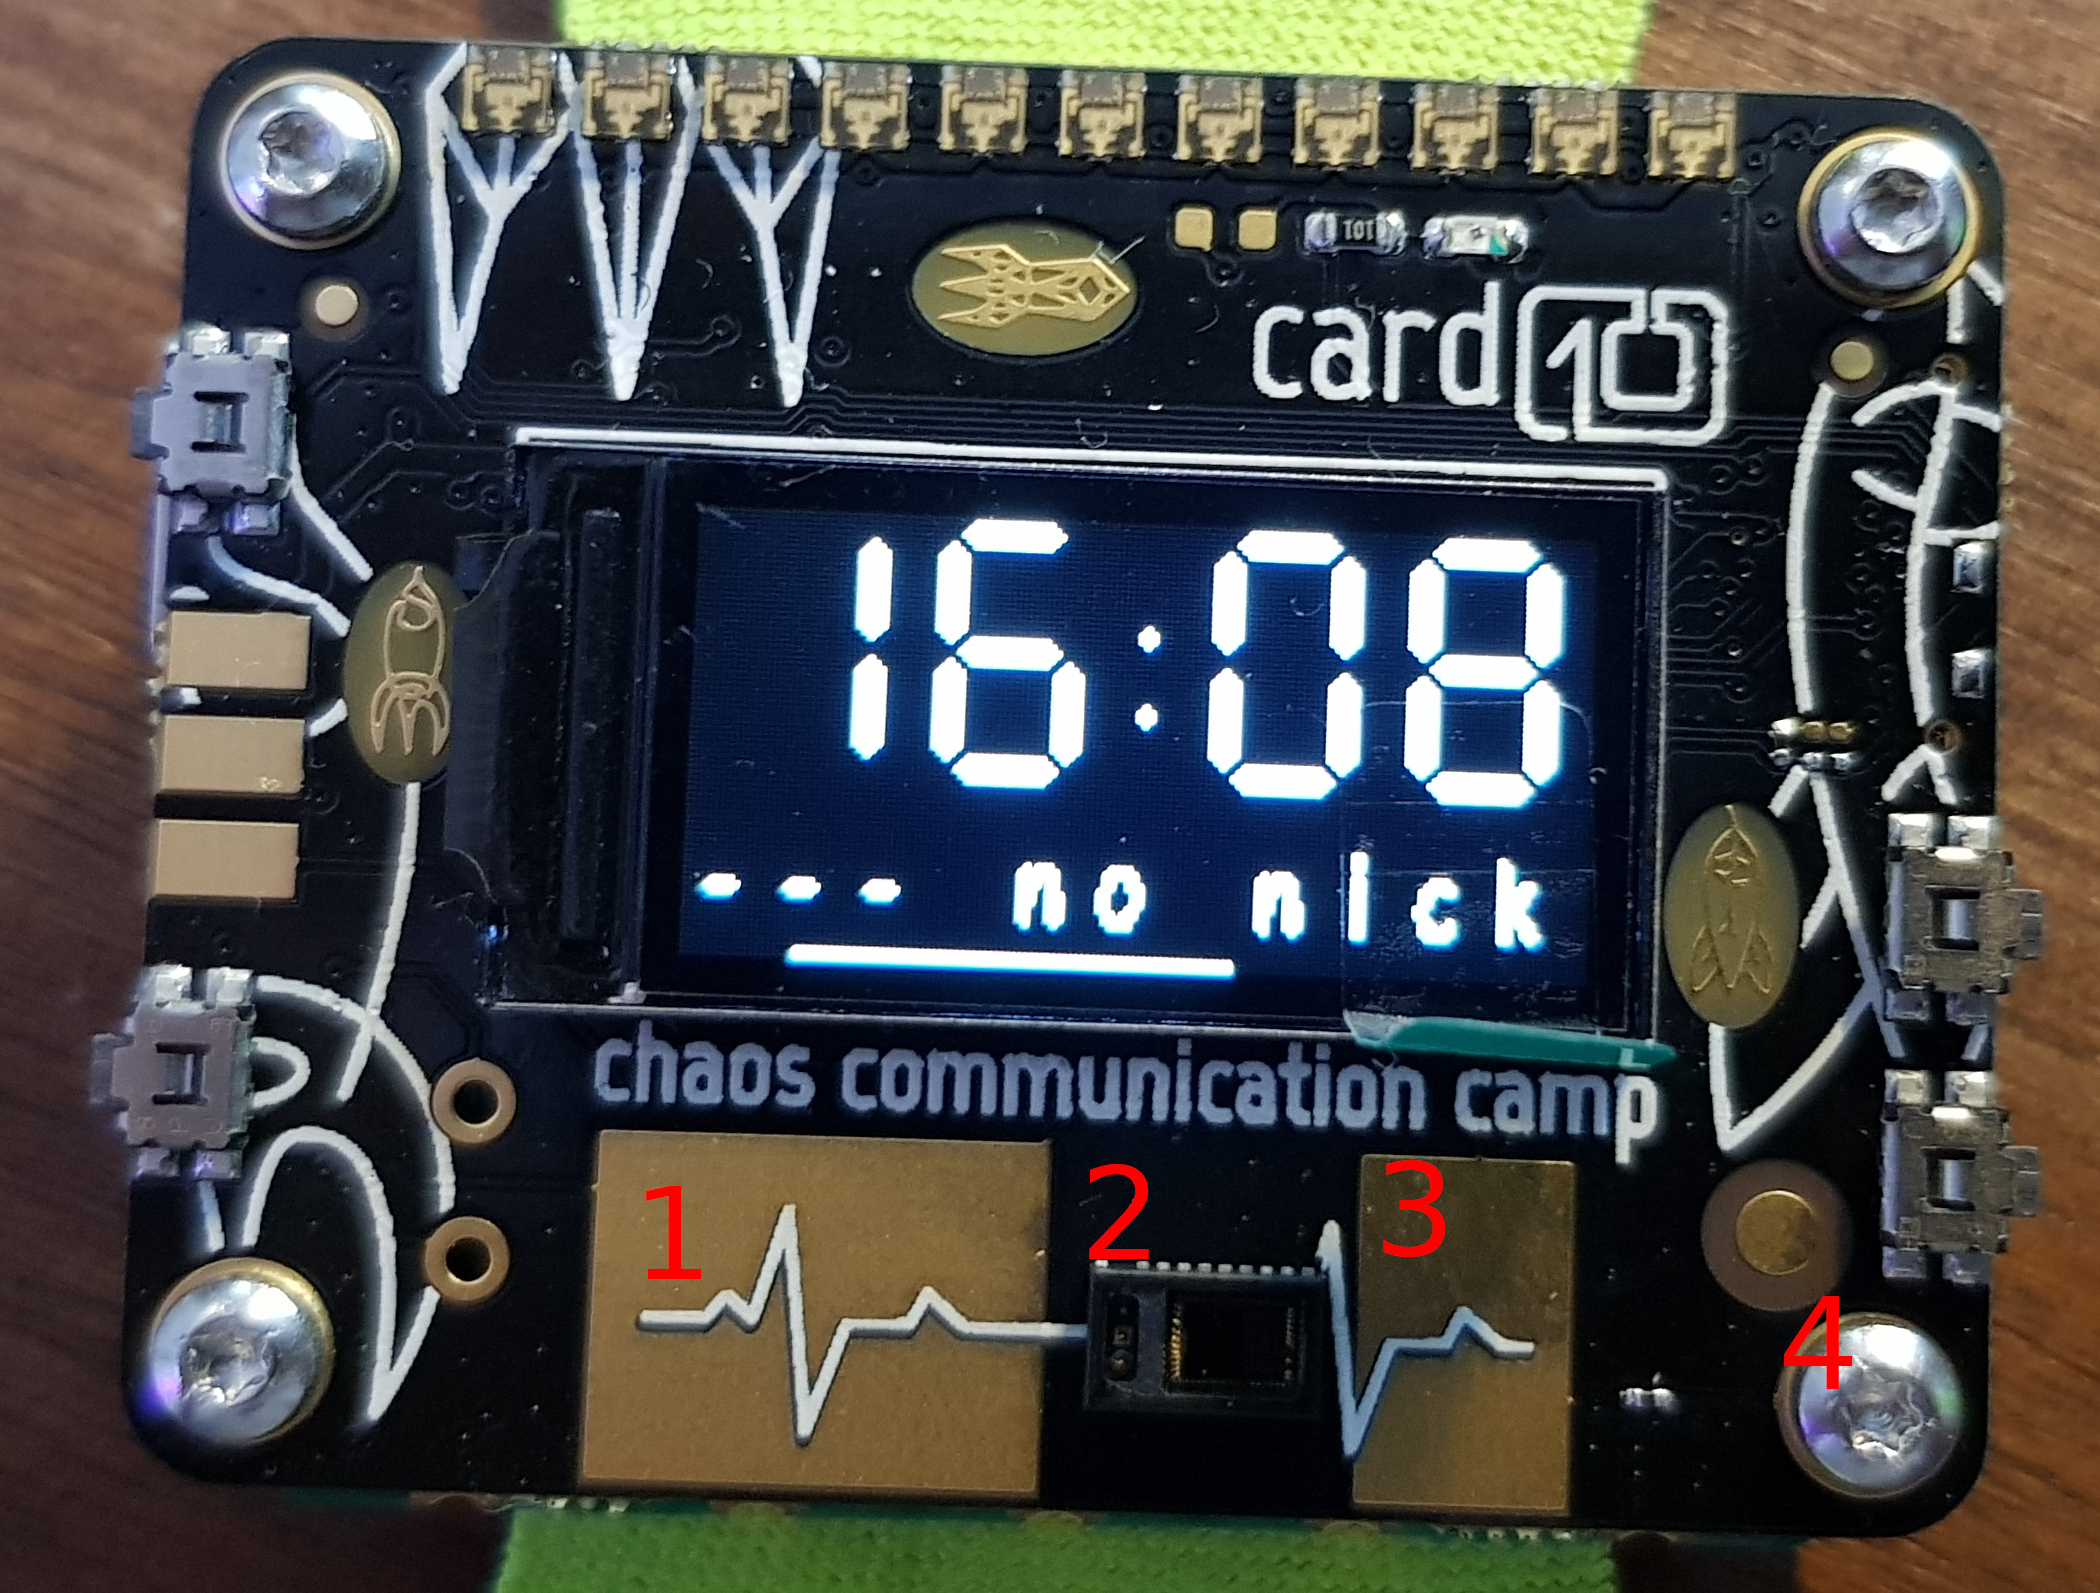
- 1 : Contact, negative ECG electrode
- 2 : Pluse oxymeter (can [potentially, if at some point supported by software] measure pulse and blood oxygen levels using an optical sensor)
- 3 : Contact, negative ECG electrode (again)
- 4 : Screw (also works as a negative electrode, see [8])
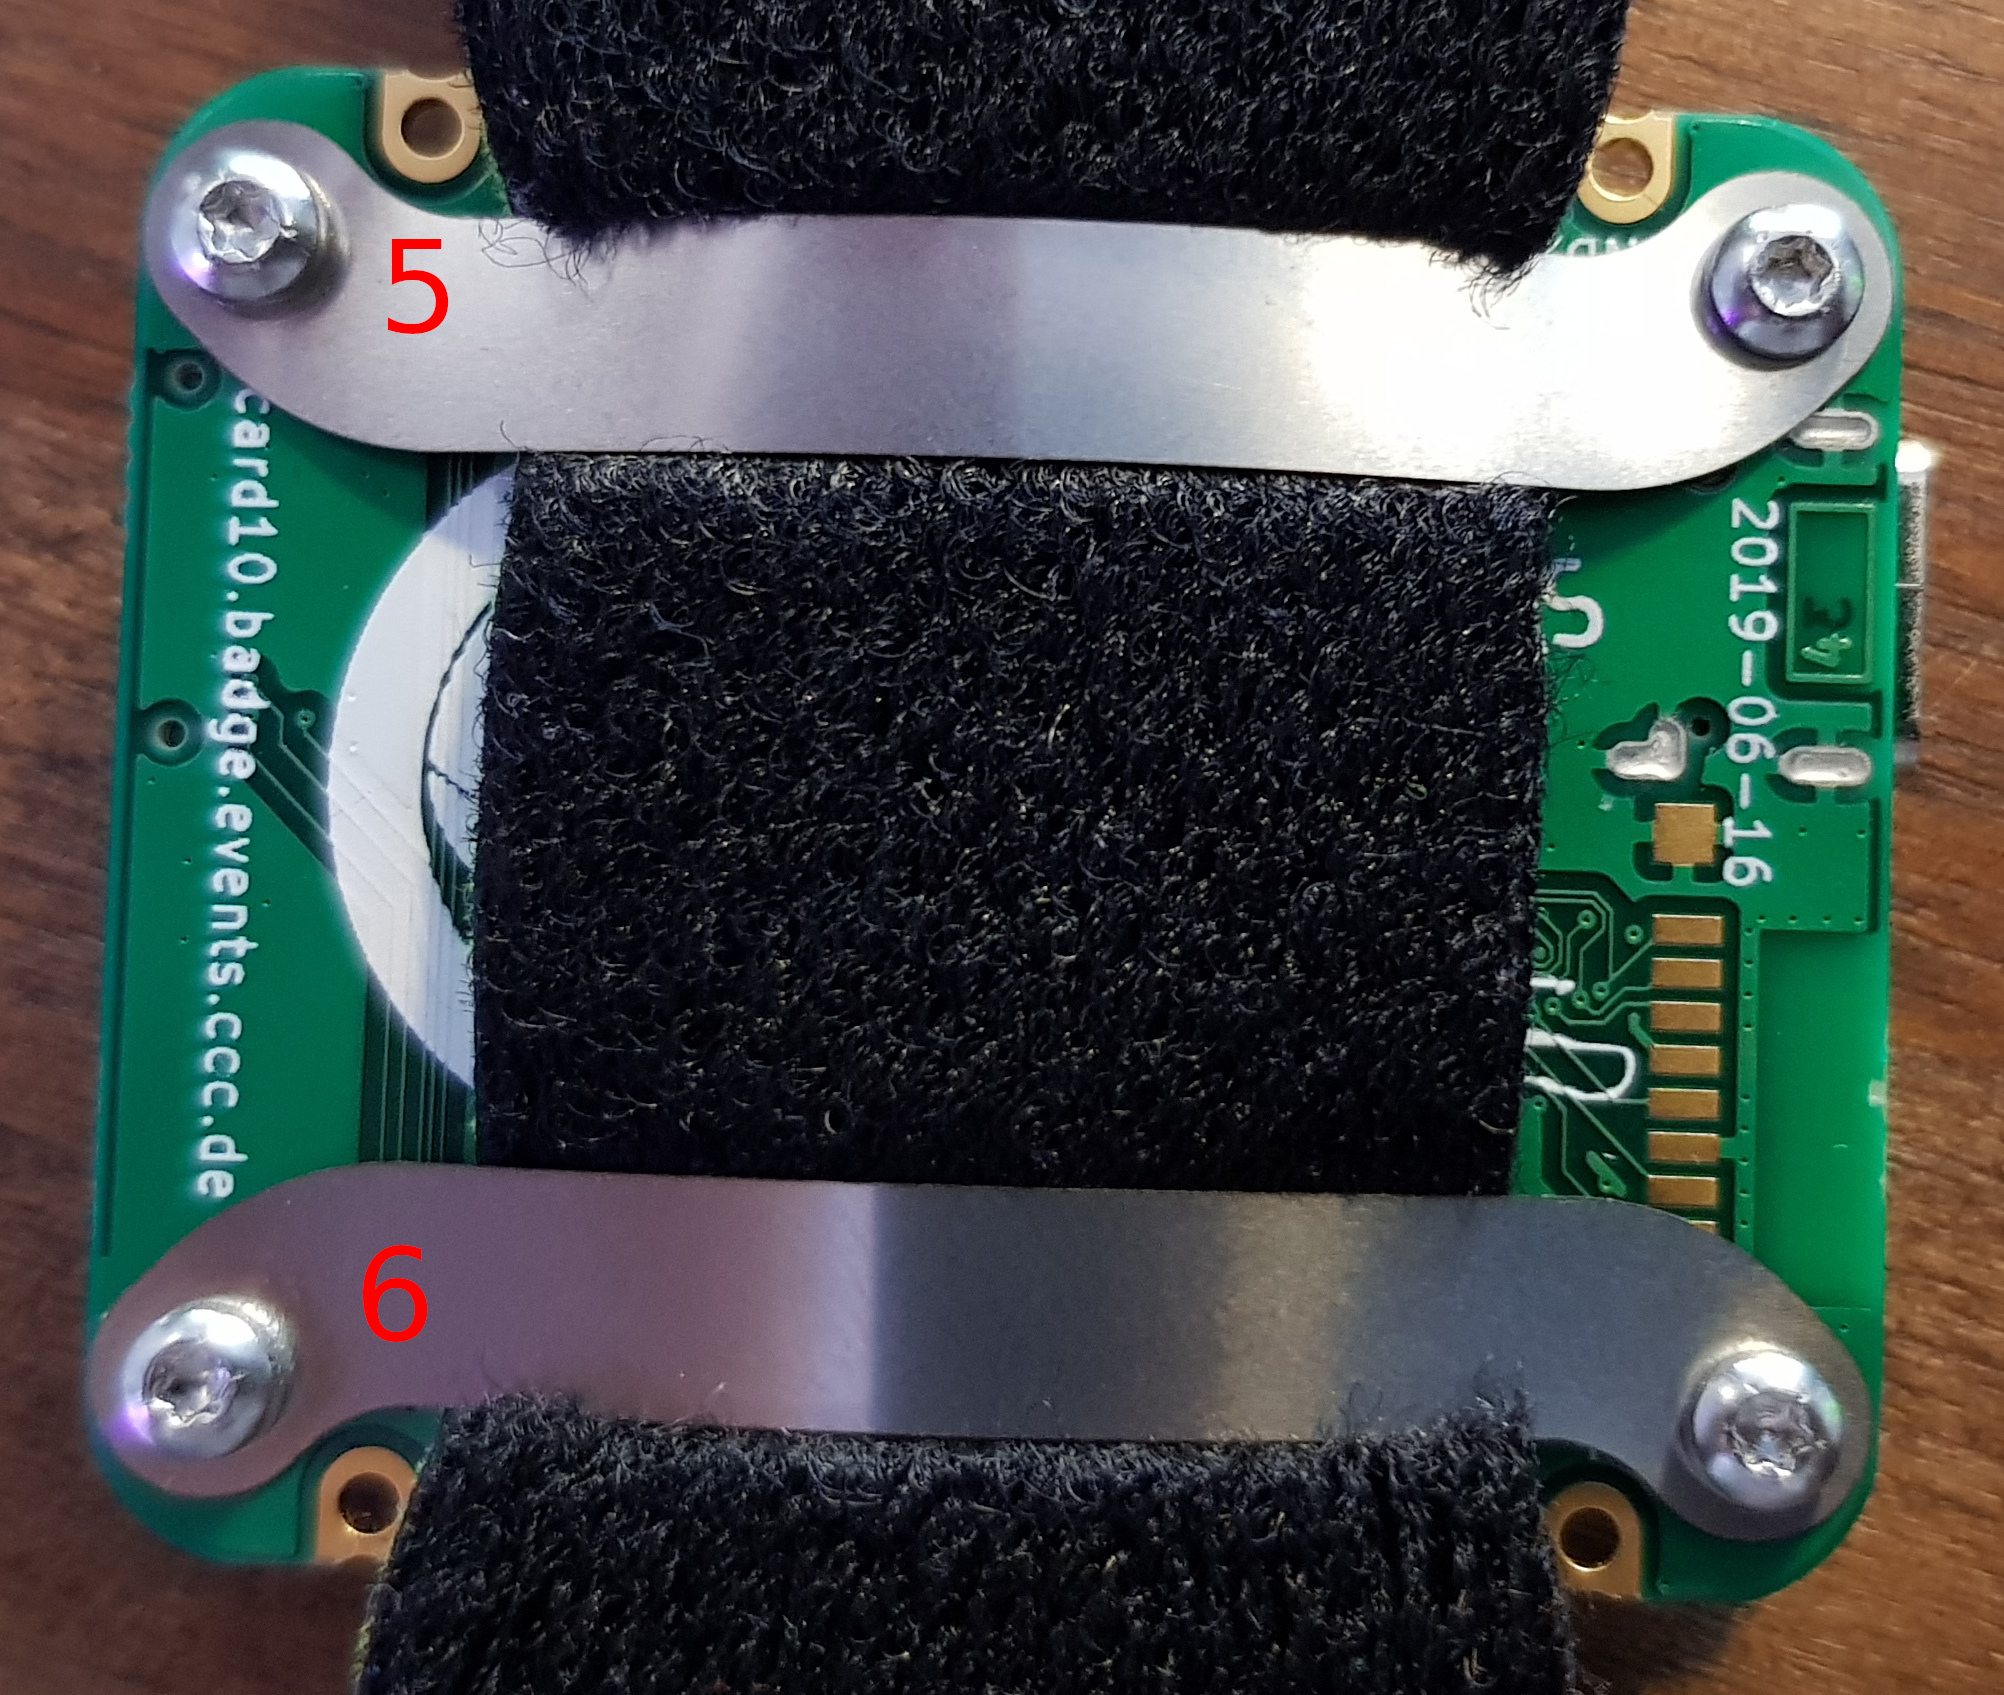
- 5 : COM (for bias)
- 6 : Contact, positive ECG electrode
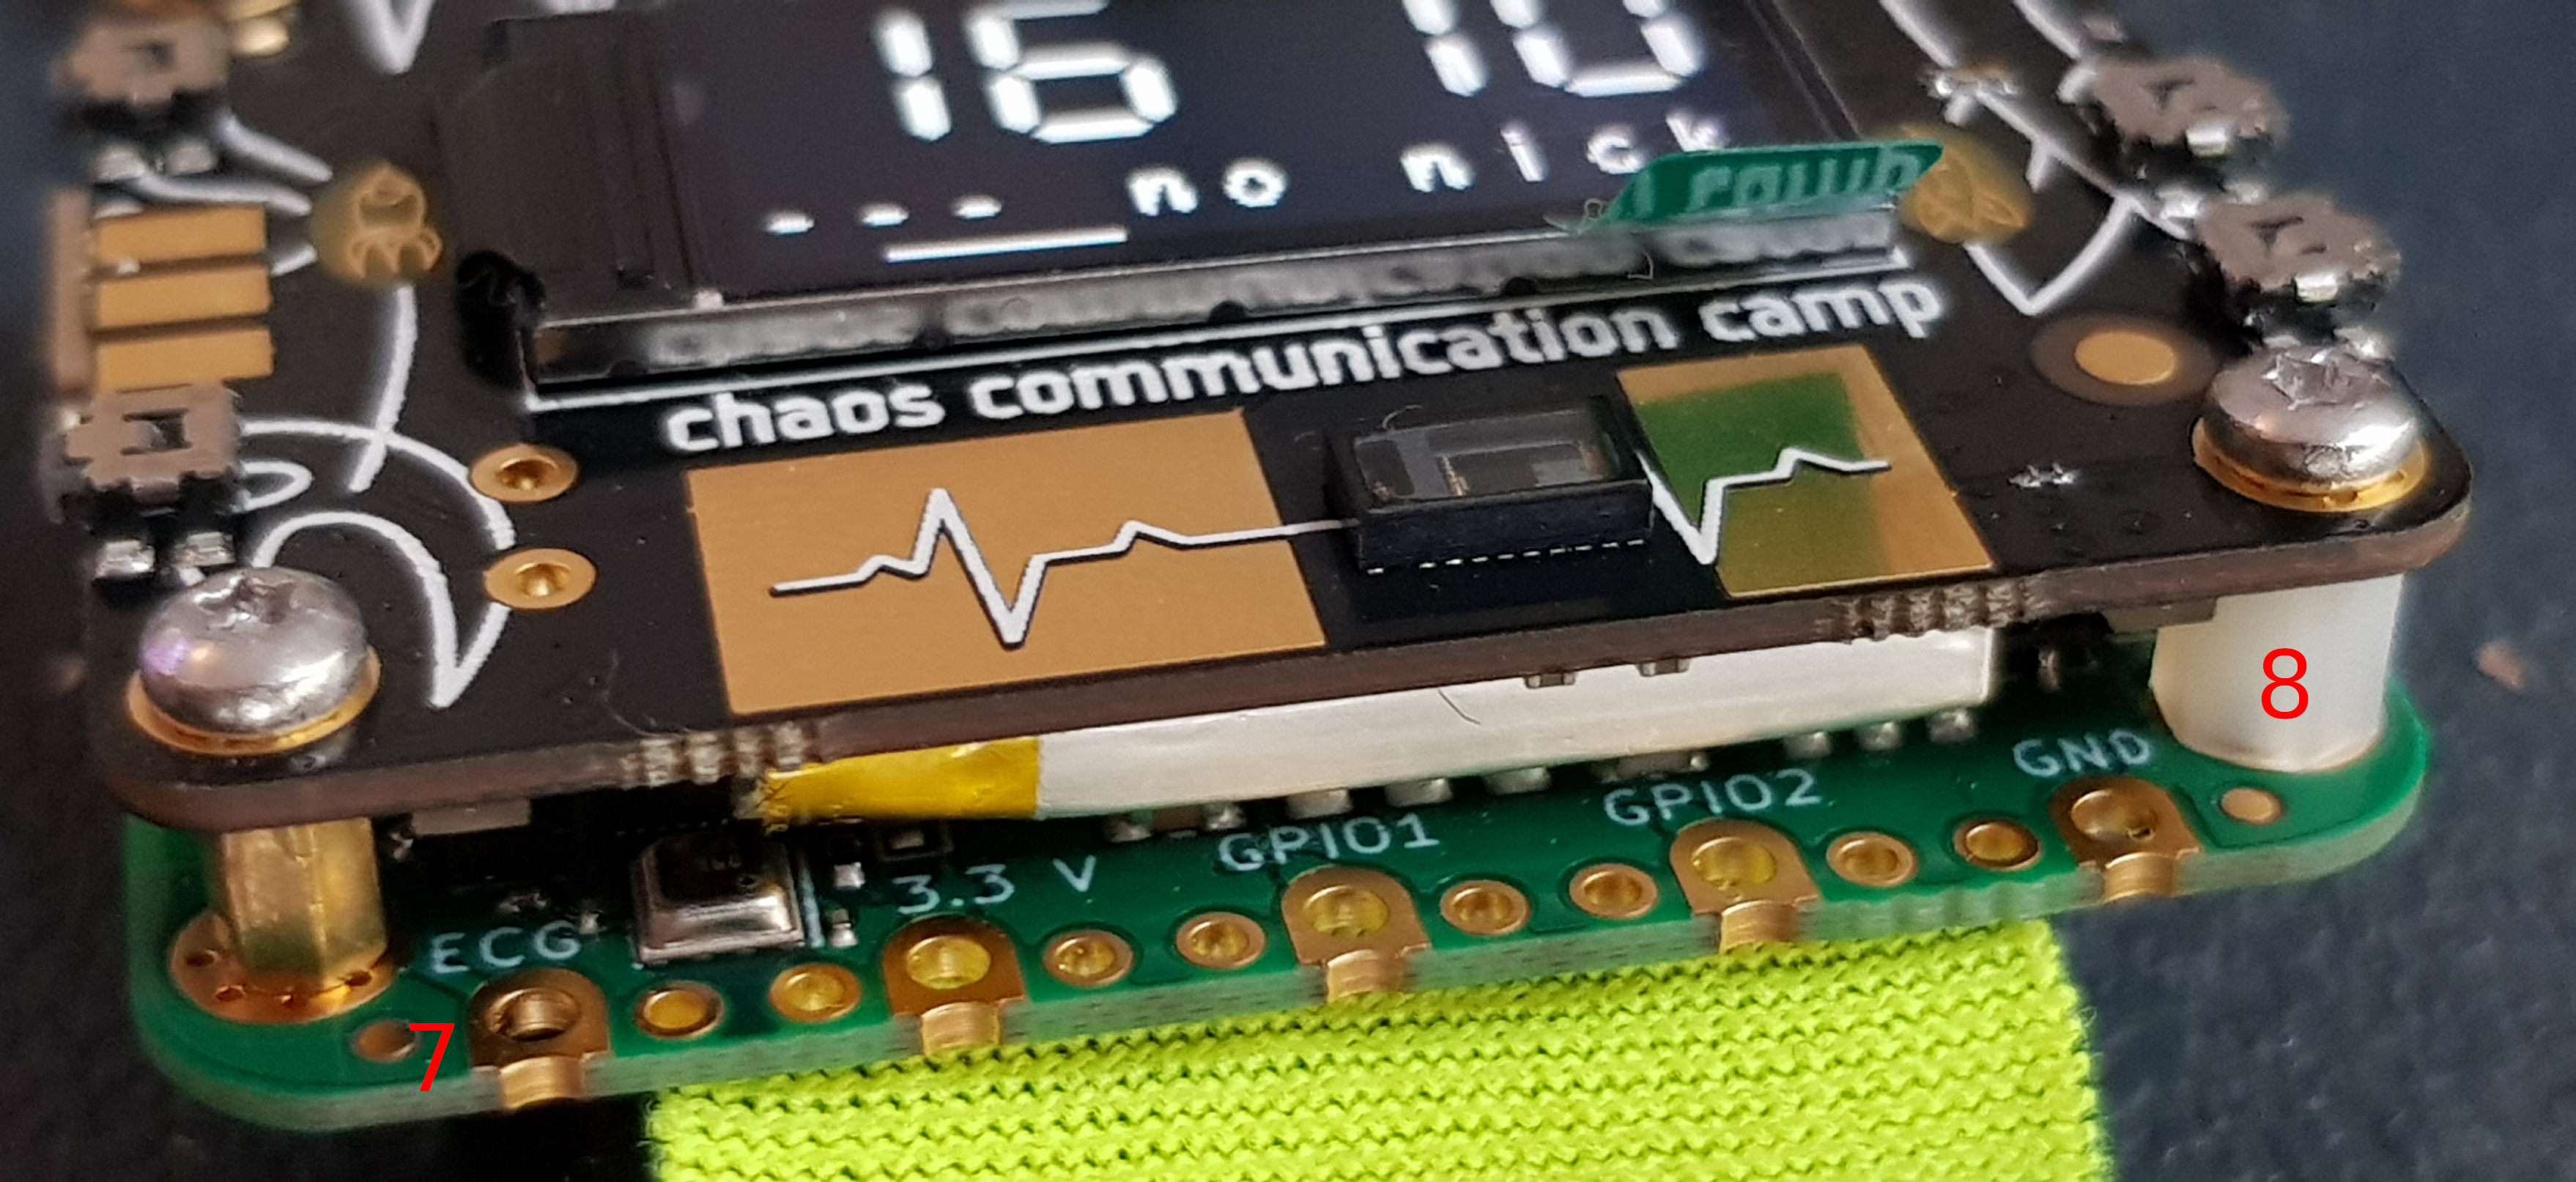
- 7 : Pin for soldering/stitching an alternative electrode, if you don’t want to use (6)
- 8 : Plastic distancer, works as an isolation (see [4])
USB-C
- see ECG Kit Assembly on how to solder your ECG cable
- NB: it DOES matter how you connect the kit via USB. if you get a lot of noise, try to turn the connection
Wristband contacts
Logging
Phone
card10
Research
https://www.frontiersin.org/articles/10.3389/fnhum.2015.00145/full https://ieeexplore.ieee.org/document/8857832 https://www.health.harvard.edu/heart-health/mindfulness-can-improve-heart-health
